Sender Email: set-up and verification

Froonze
Last Update 10 months ago
Our Sender Email settings allow you to set the Sender Name and Email address for all emails sent to your customers from our app. This not only ensures that your customers know who the email is from and where to reply, but it also has benefits in terms of trust and deliverability.
By sending the emails from a verified custom email, your customers can be confident that the email is coming from a legitimate source. They are also more likely to trust the email and open it. Additionally, email providers are more likely to deliver emails from verified senders to the recipient's inbox, which can help to reduce the bounce rate of your emails.
Email Verification
Before being able to send the emails from a custom email address you'll need to verify it. There are two ways to do this: configuring the DKIM Records or through an Email confirmation.
Email Confirmation is easier to complete but DKIM Records is a more secure and reliable method of email verification. It's rated higher by email providers and therefore has a more efficient deliverability. So we would recommend you using this always that it's possible.
1. To verify the email using DKIM Records you'll need to head to your email host settings and configure it to use these records:
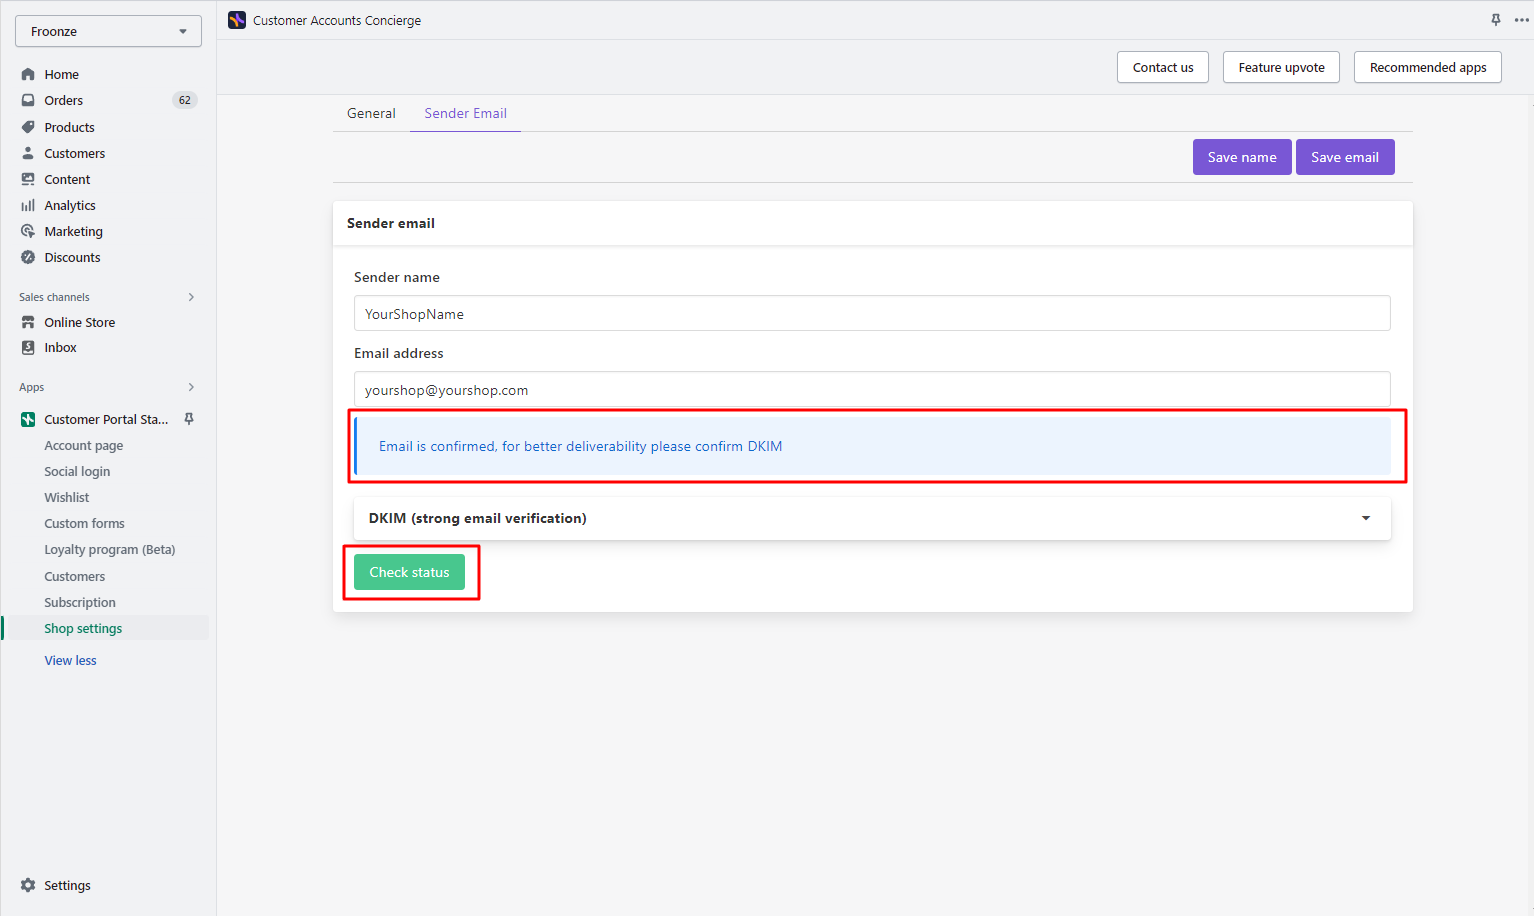
- In our settings Sender name and Email address, input your custom name and email address
- Scroll down a bit and open the drawer labelled "DKIM (strong email verification)". Here you can find the details of the DKIM and Return Path that will be used to configure the host.
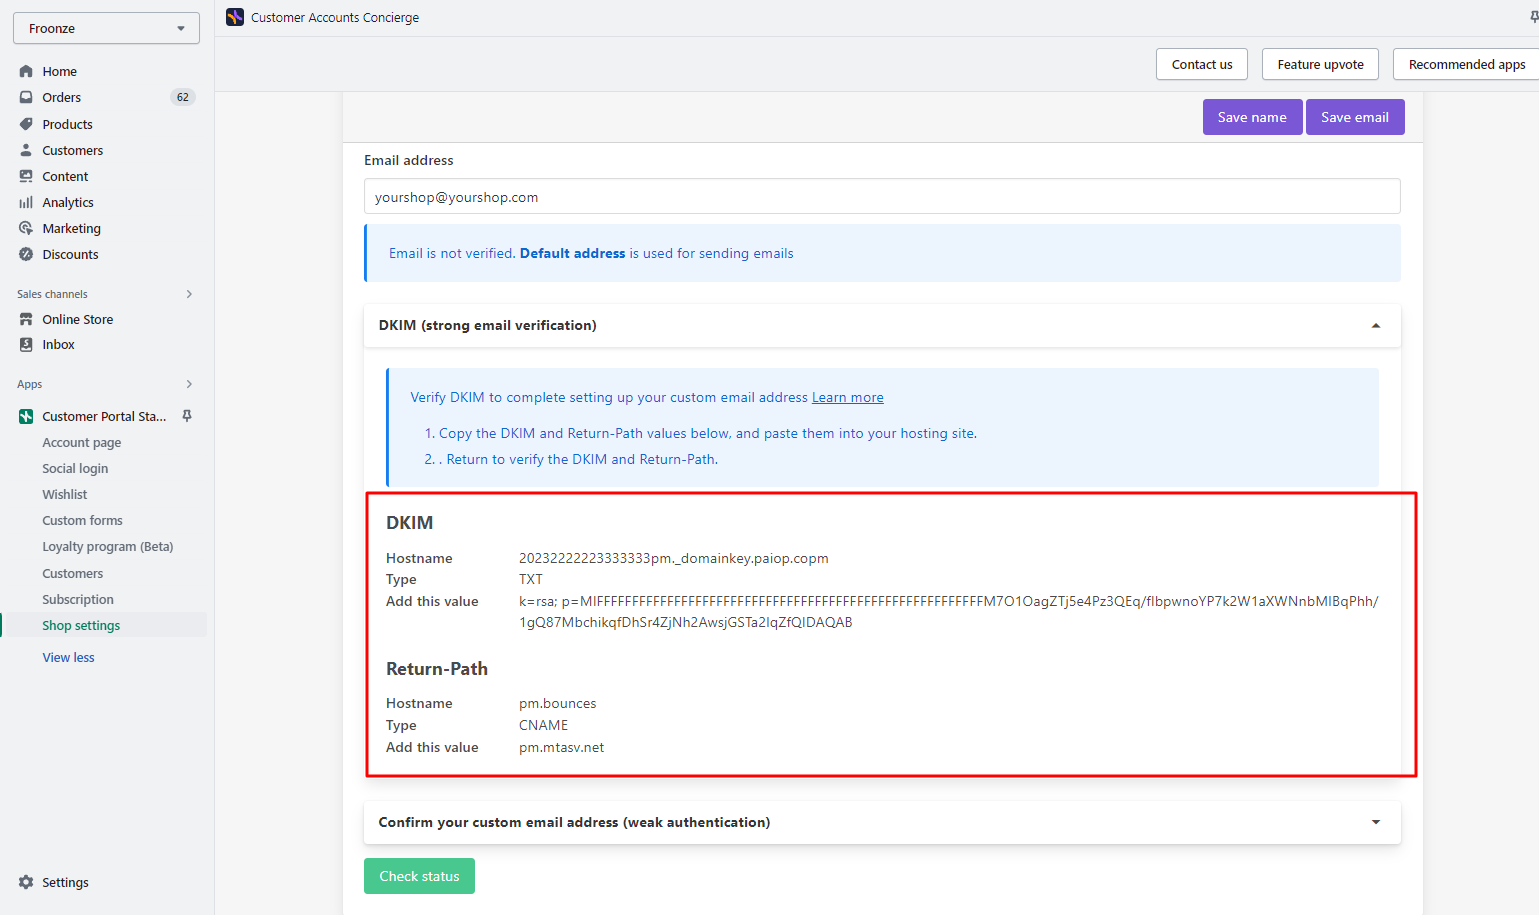
- The most complicated part of configuring DKIM and Return Path records is probably finding the right spot to add them in your email host settings. The process will vary depending on your email host, but it usually involves pasting some or all of the DKIM and Return Path records you found in our settings into the corresponding fields in your email host settings. We strongly recommend contacting your email host's support team for help with this task. They will be able to guide you through the process and tell you where to find the right places to paste the records.
- Once this is done, you can now go back to our settings to Check Status. You should see the note: Email is confirmed

2. To validate the email using Email confirmation:
- In Sender name and Email address, input your custom name and email address
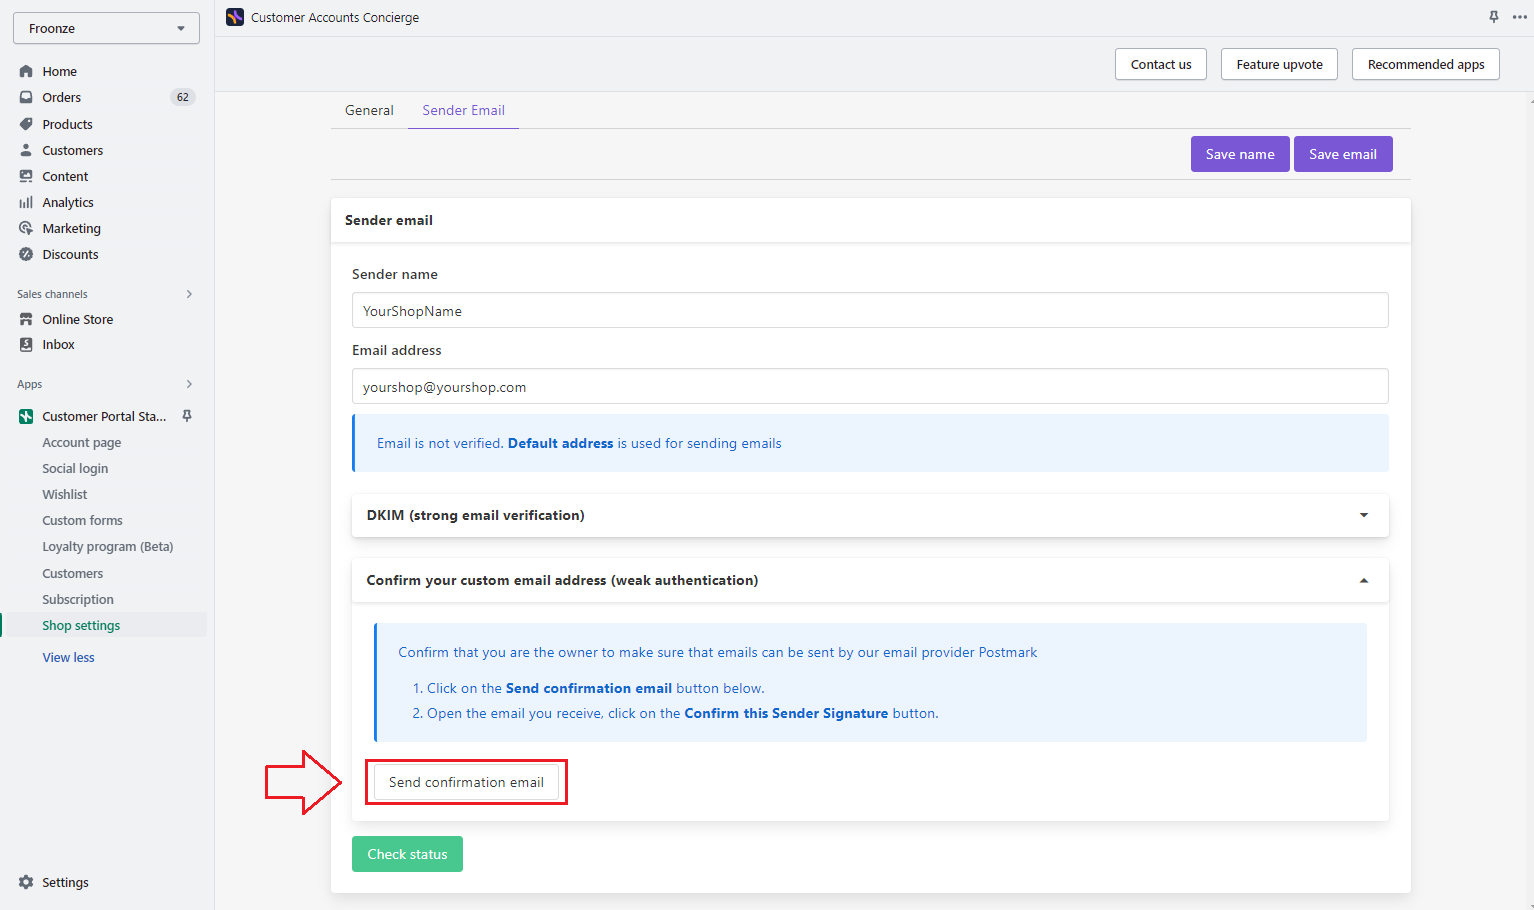
- Scroll down and open the last of the drawers labelled "Confirm your custom email address". Click on Send confirmation email.
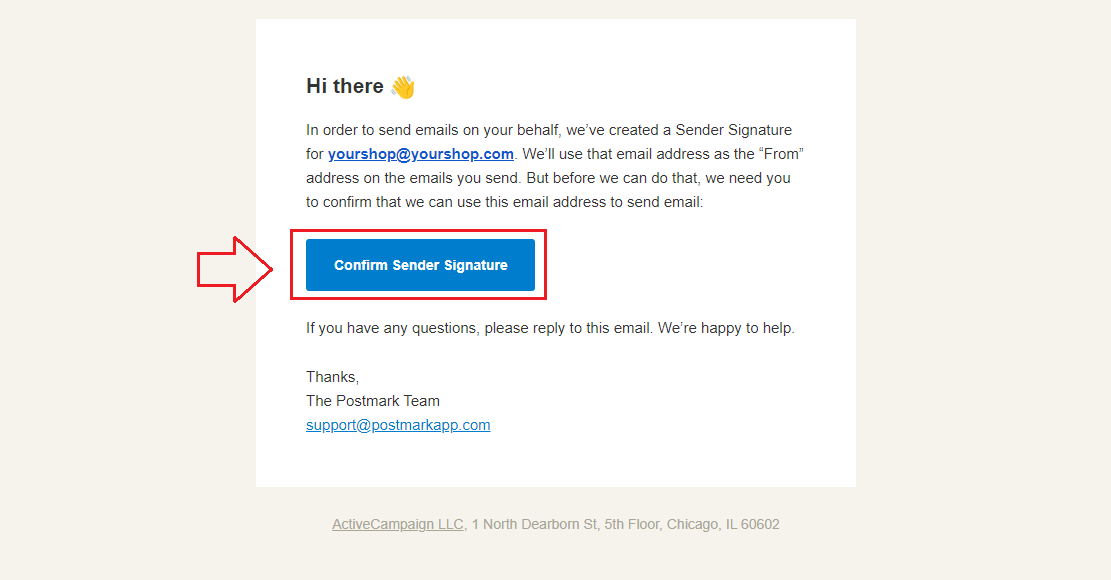
- Check your email inbox for a Signature Confirmation email from our provider Postmark. Click on Confirm Sender Signature
- You can now go back to our settings to Check Status. You should see the note: Email is confirmed