Apple API Keys

Froonze
Last Update 4 tháng trước
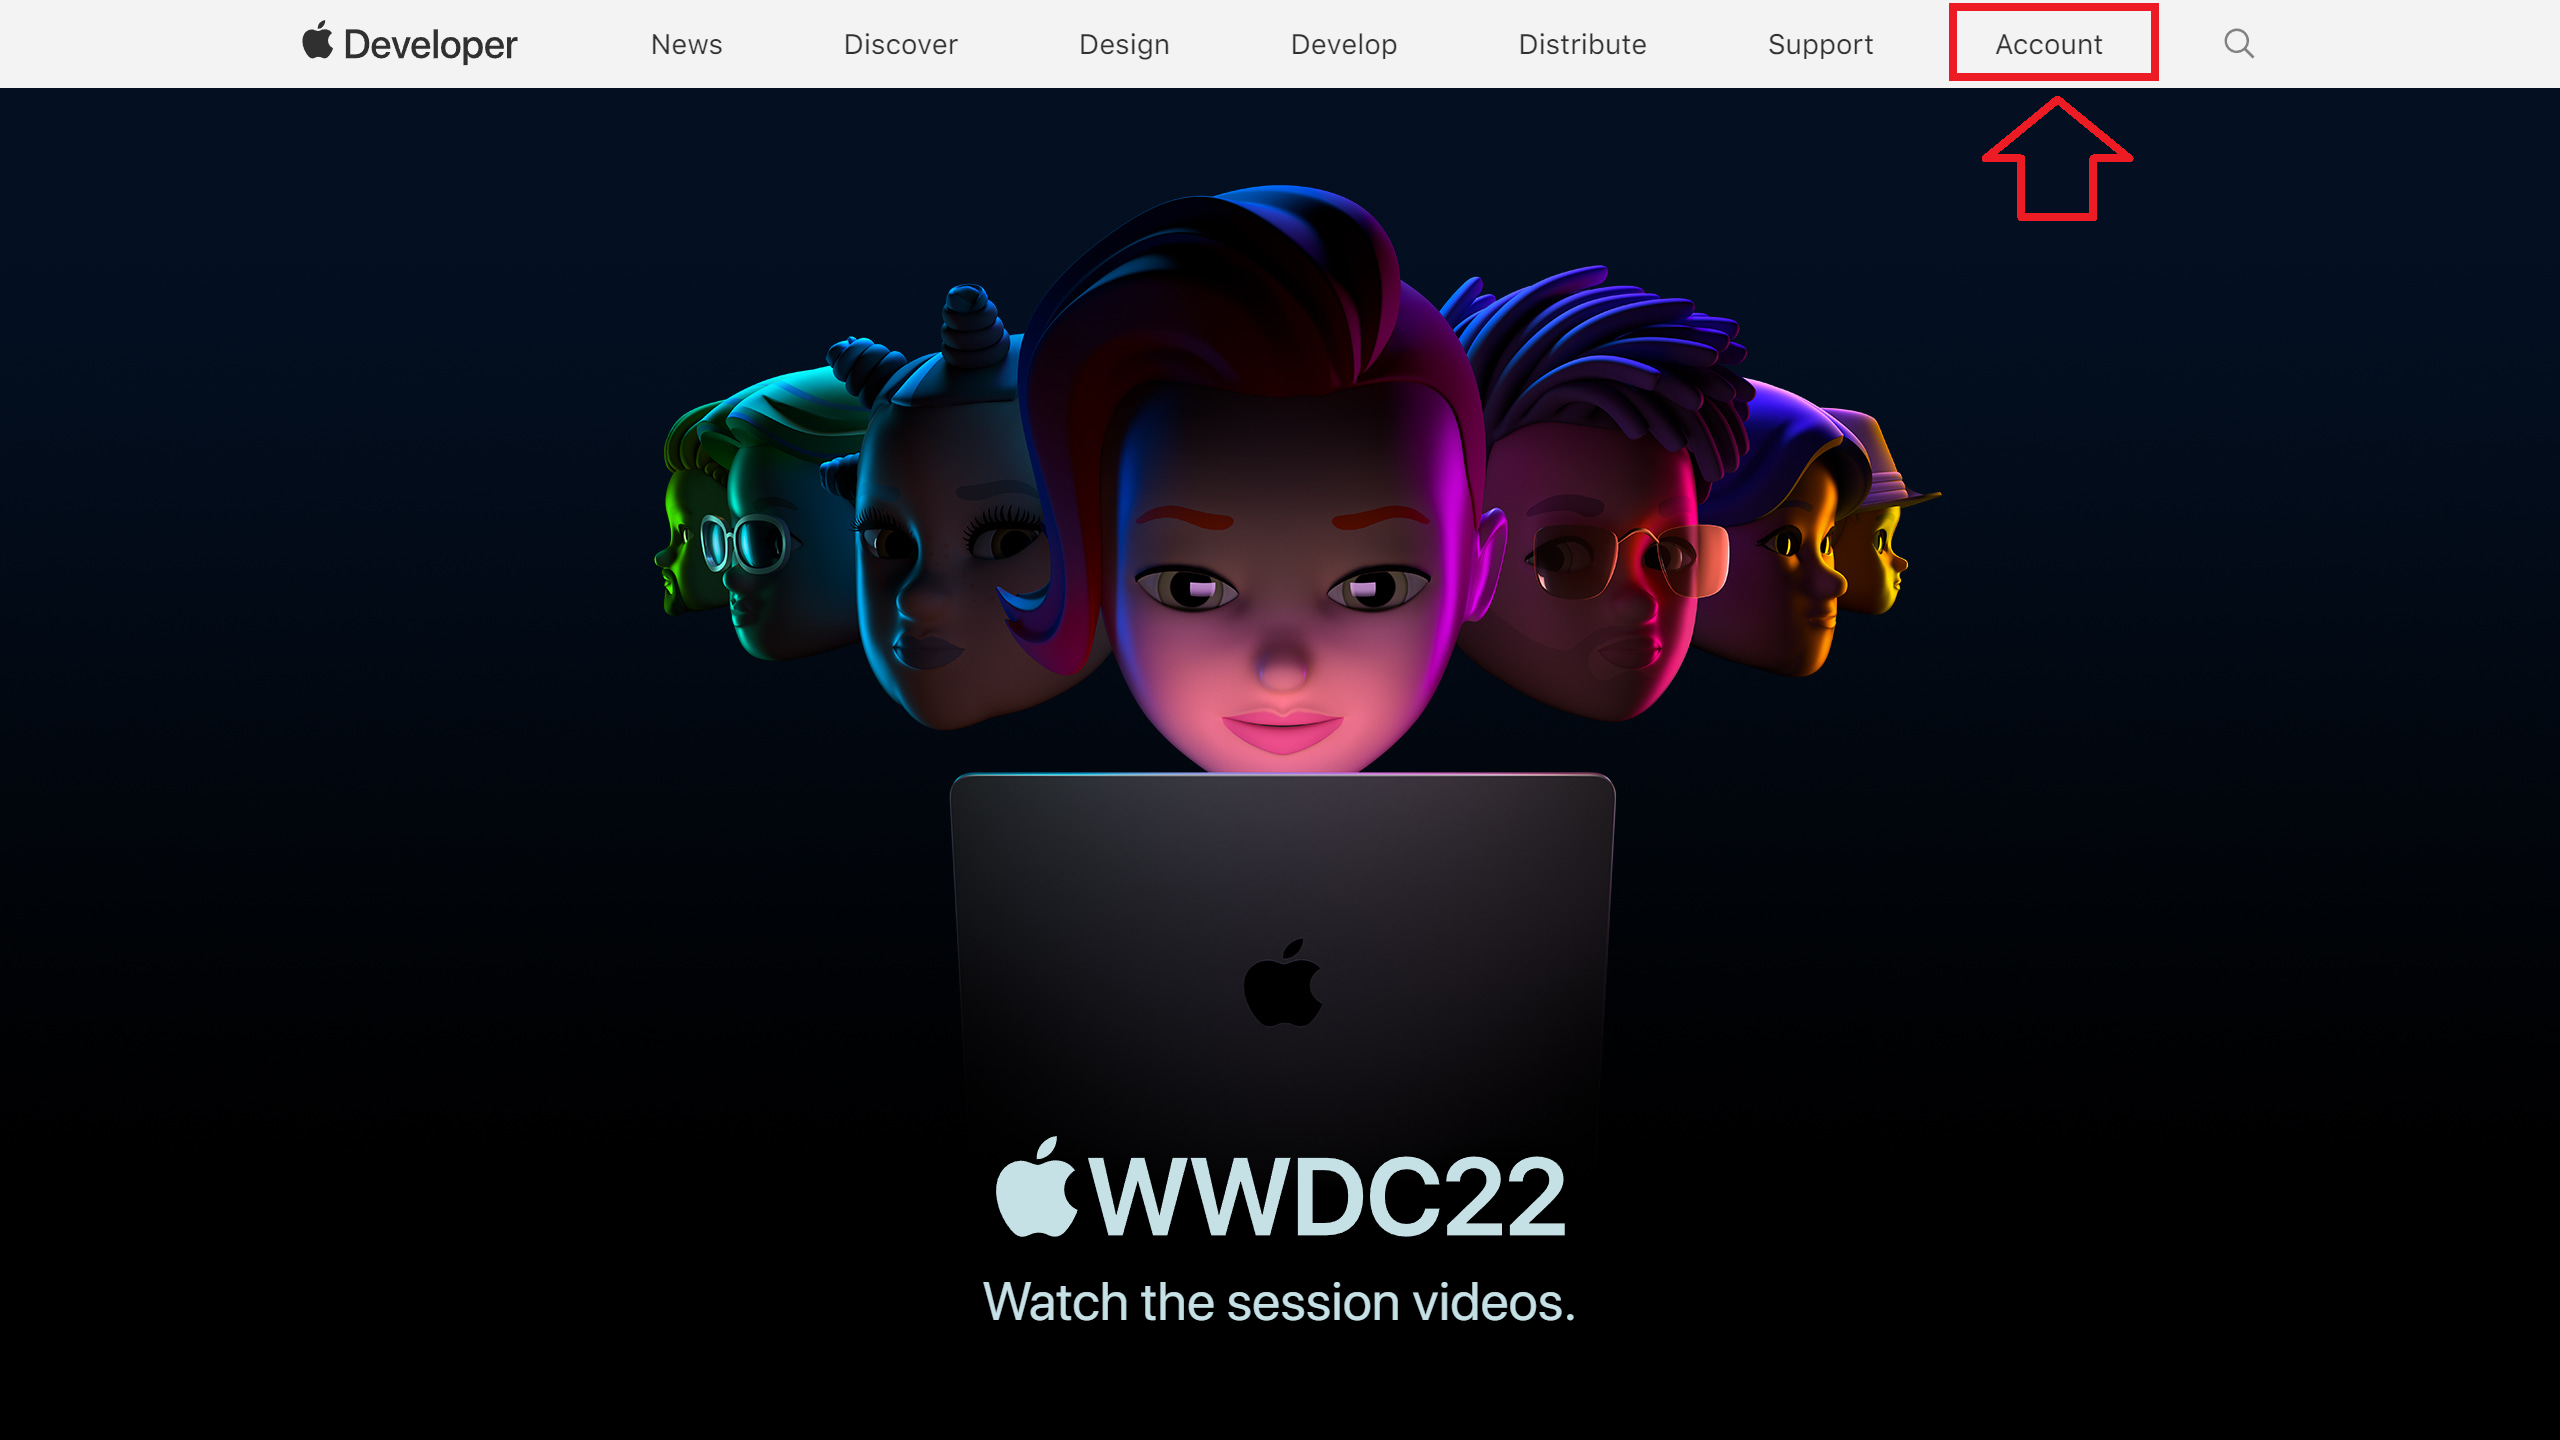
Navigate to https://developer.apple.com, click on Account on the top navigation bar, then log in with your Apple developer account.
If you do not yet have an Apple Developer account, you must obtain it before continuing to the next step. To get an account, go to this link, click on Start Your Enrollment, and follow the instructions. The Apple Developer Program annual fee is 99 USD, prices may vary by region and can be consulted on their website
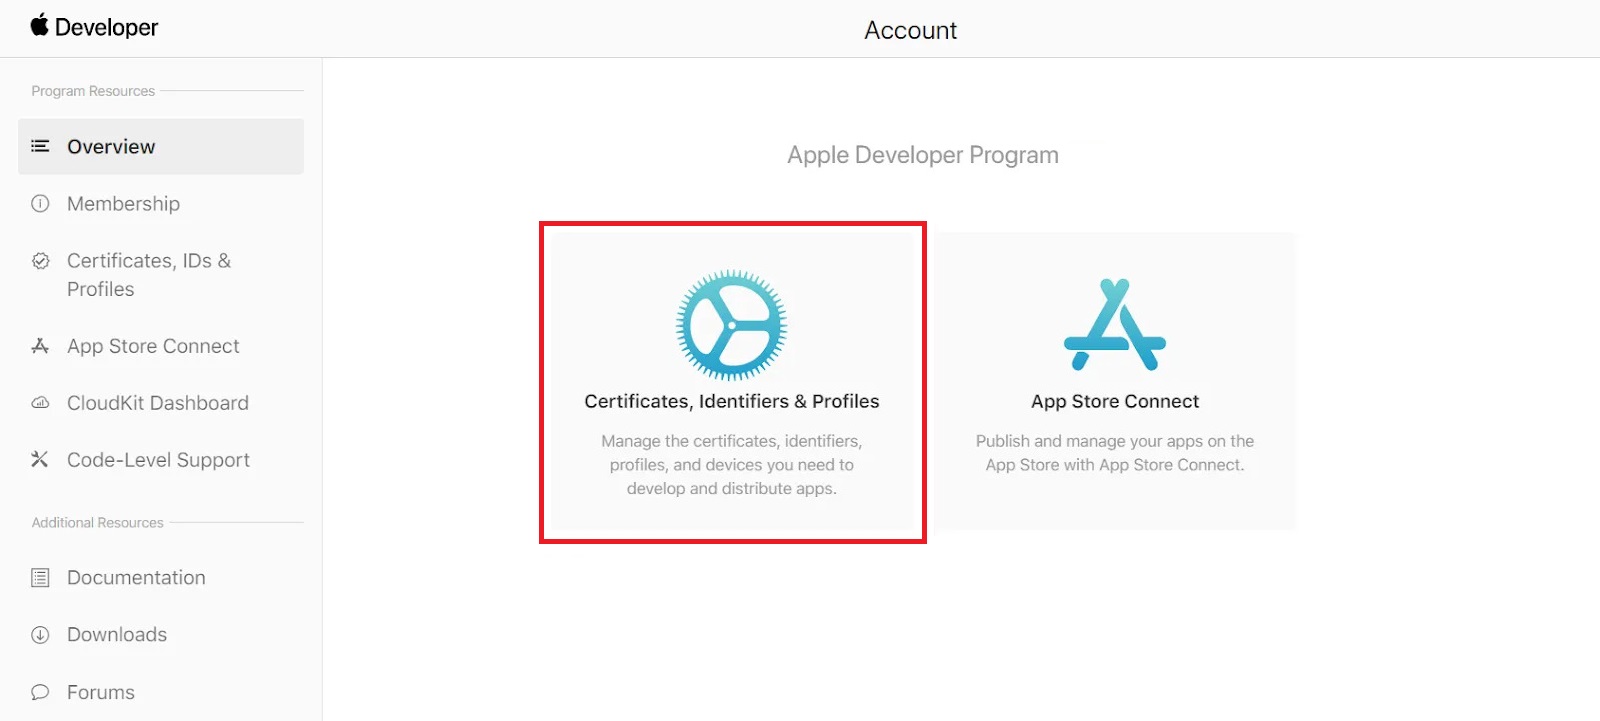
You'll land on the Overview page. Click on Certificates, Identifiers and Profiles
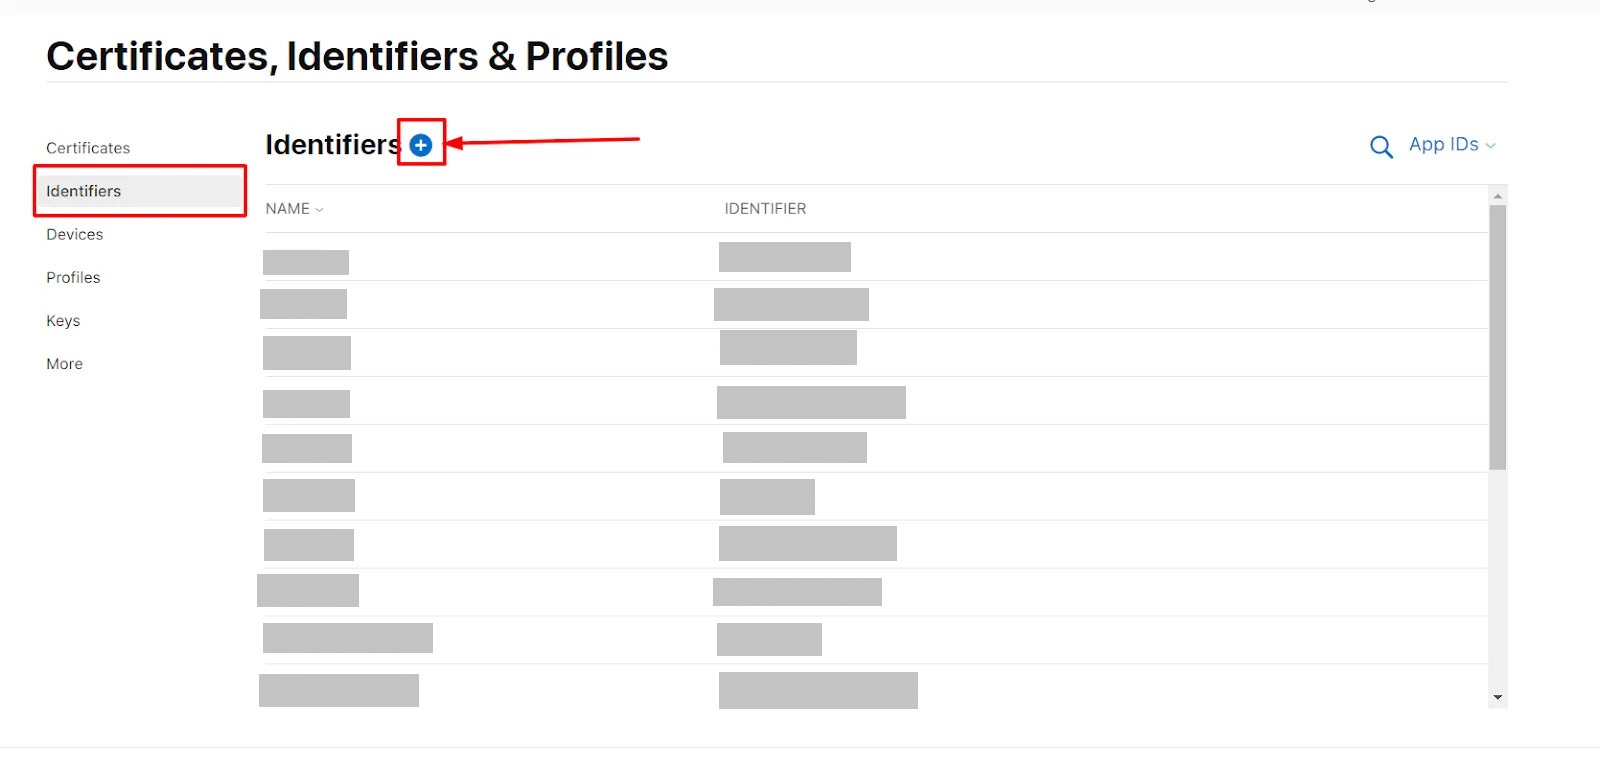
On the left navigation sidebar, click on Identifiers and then on the Add blue button.
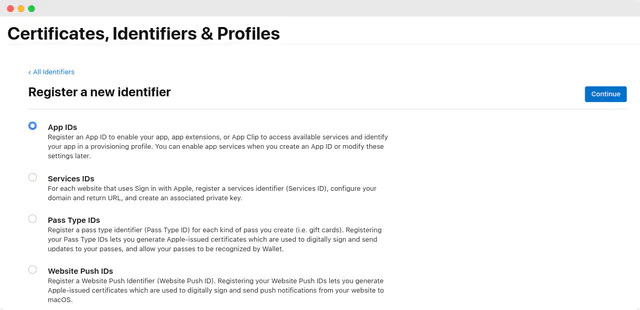
You'll be taken to a Register a new identifier page with different choices. Choose App IDs and click on Continue.
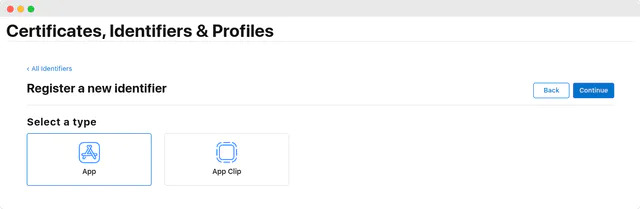
On the next page, you'll be asked to select a type for your application. Select App and click on Continue.
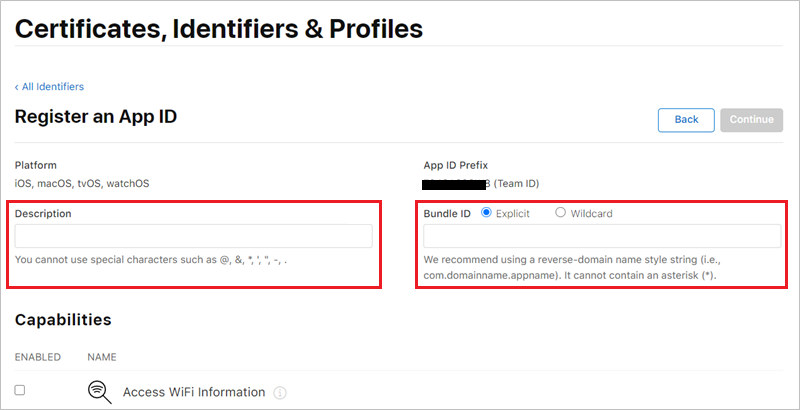
In the next panel you'll have to fill in a Description for your App ID (just pick something descriptive) and the Bundle ID (it's better picking a name with a reverse-domain style, i.e. com.yourshop.www)
From the list of Capabilities displayed below, scroll down and make sure that Sign In with Apple is checked.
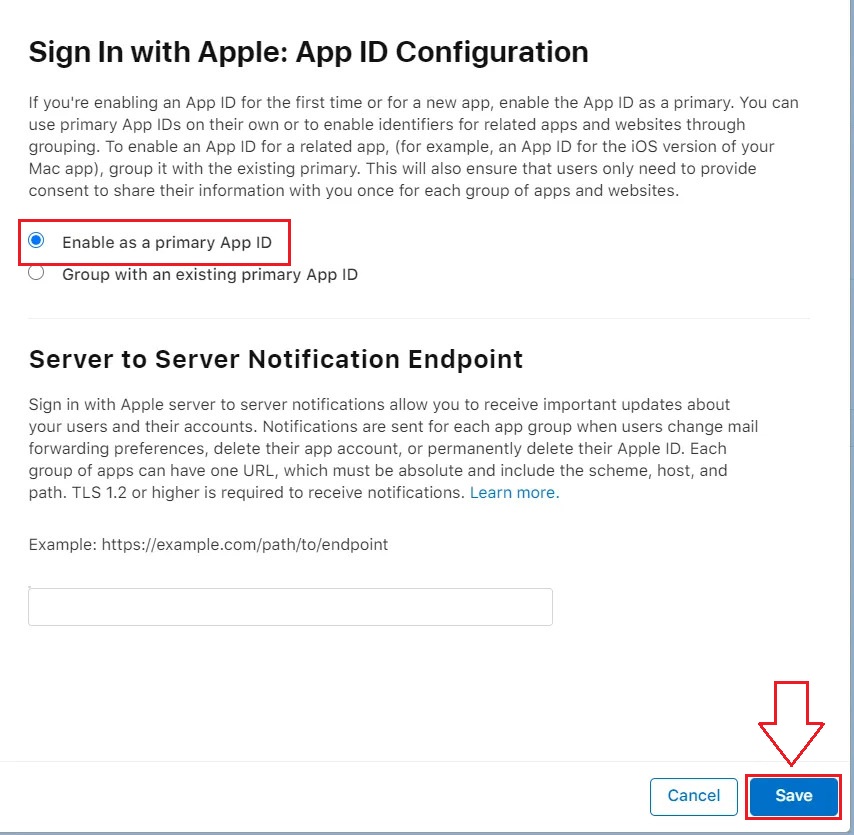
Then click on Edit and select Enable as a primary App Id. Click on Save after that

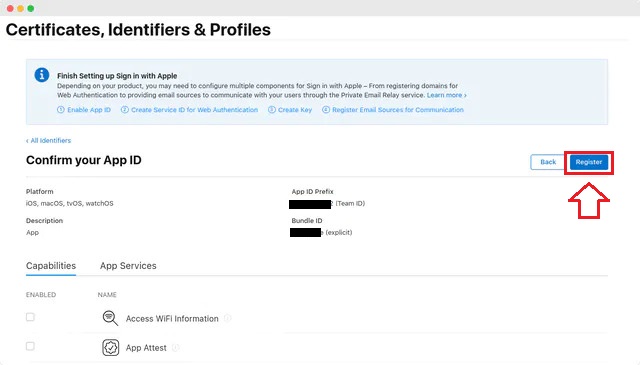
Click on Continue on the top right corner. Write down the value in the App ID Prefix, this is the Team ID that we'll use later in our Social Login settings.

After that click on Register.
Now that we have created the App ID, we can continue with the Services ID.
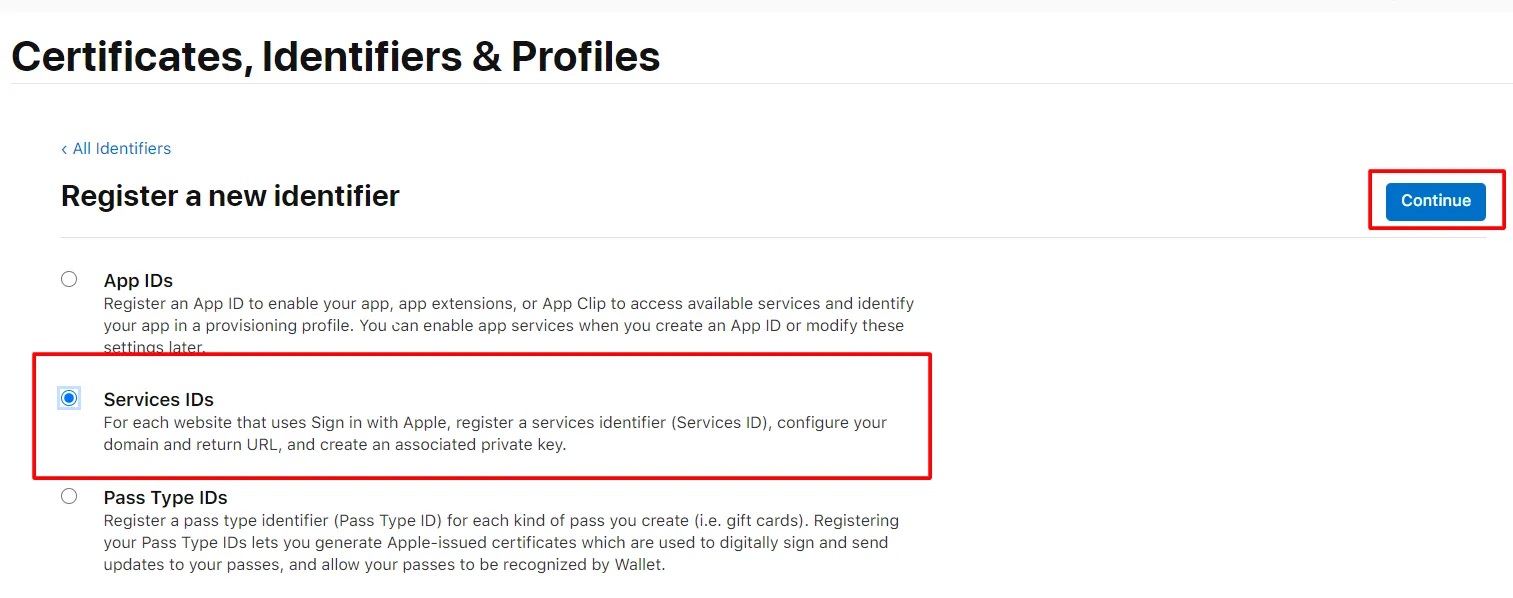
Navigate back to the Certificates, Identifiers & Profiles panel and click on Identifiers on the left sidebar. Again click on the Add blue button. Select Services IDs and click on Continue.
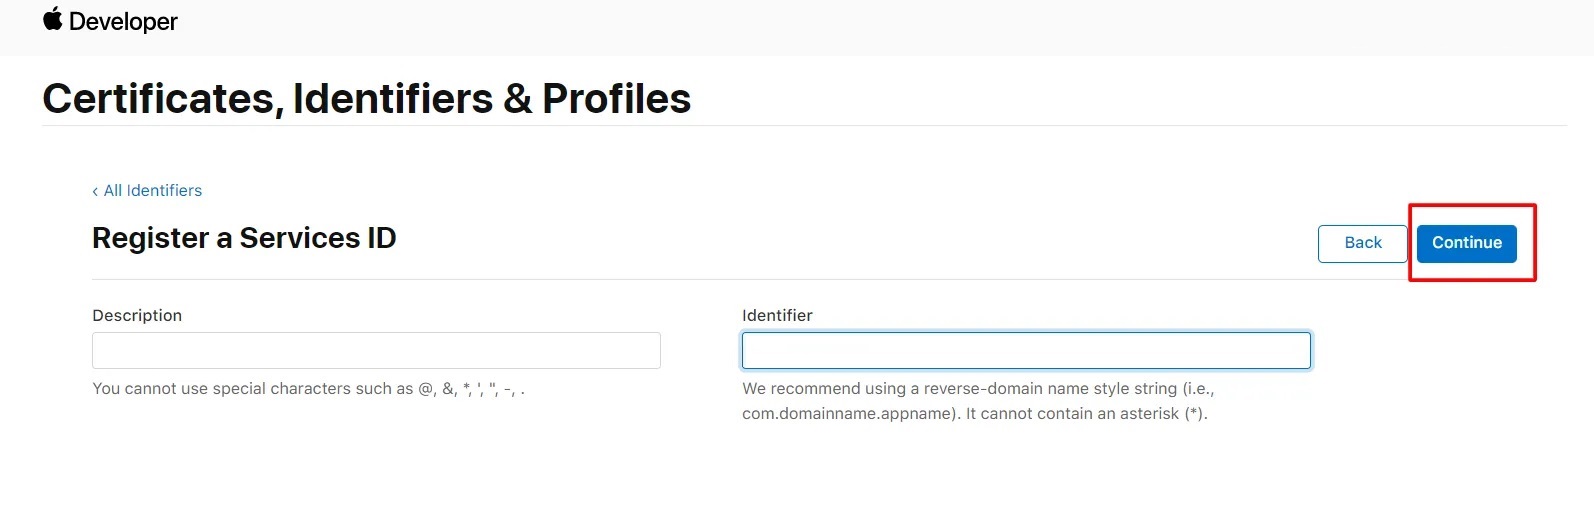
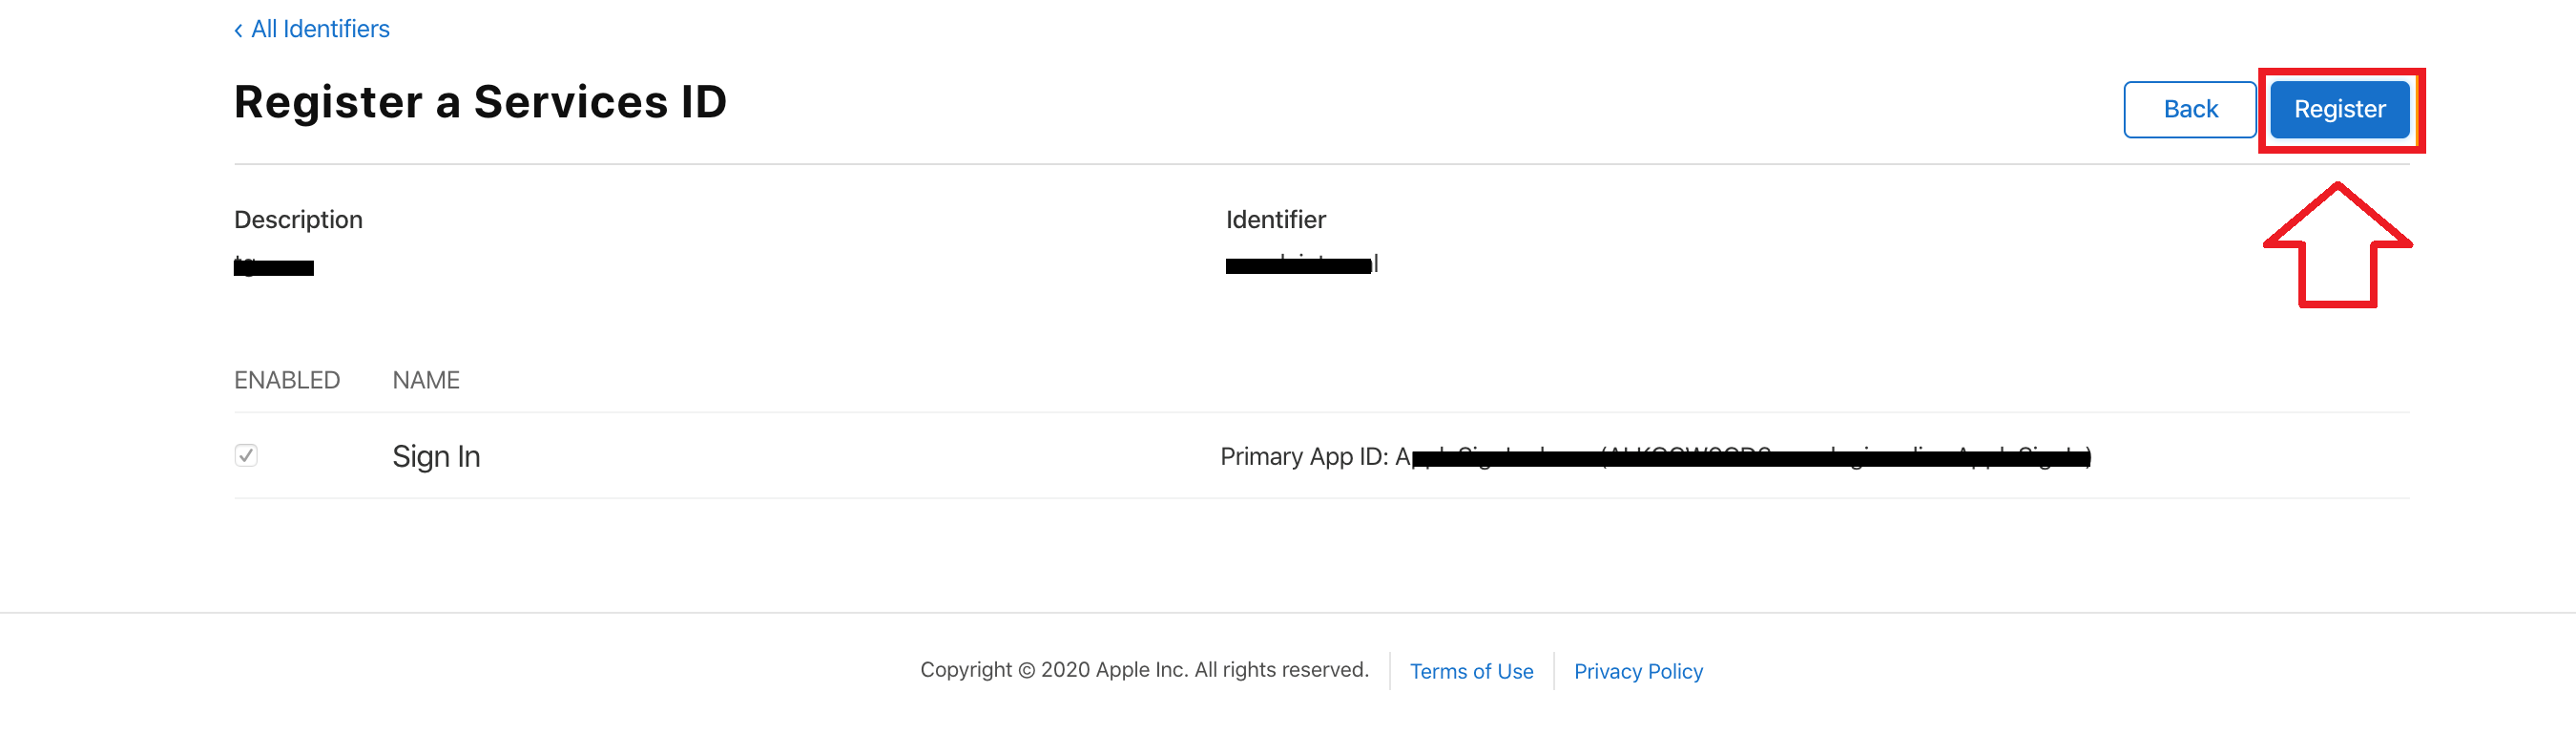
Enter both the Description and the Identifier. The customer will see the Description as the name of the app during the login. The value of the Identifier will be used as the Client ID in the OAuth workflow, so make sure to write it down to use it later.
Click on Continue and after that on the Register button.
In the left menu click on Identifiers.
At the right top click on App IDs and select Service IDs from the drop down menu.
Select your Service ID from the List.

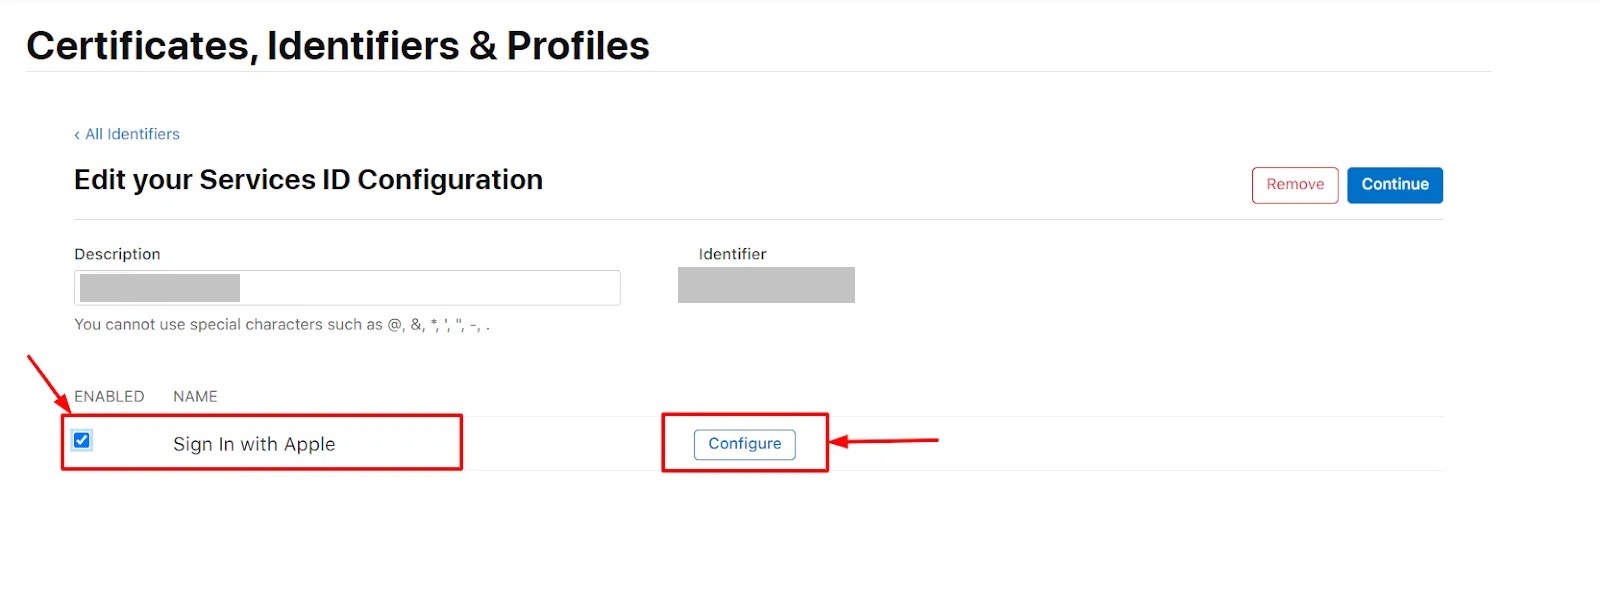
Tick the checkbox next to Sign In with Apple and click on Configure
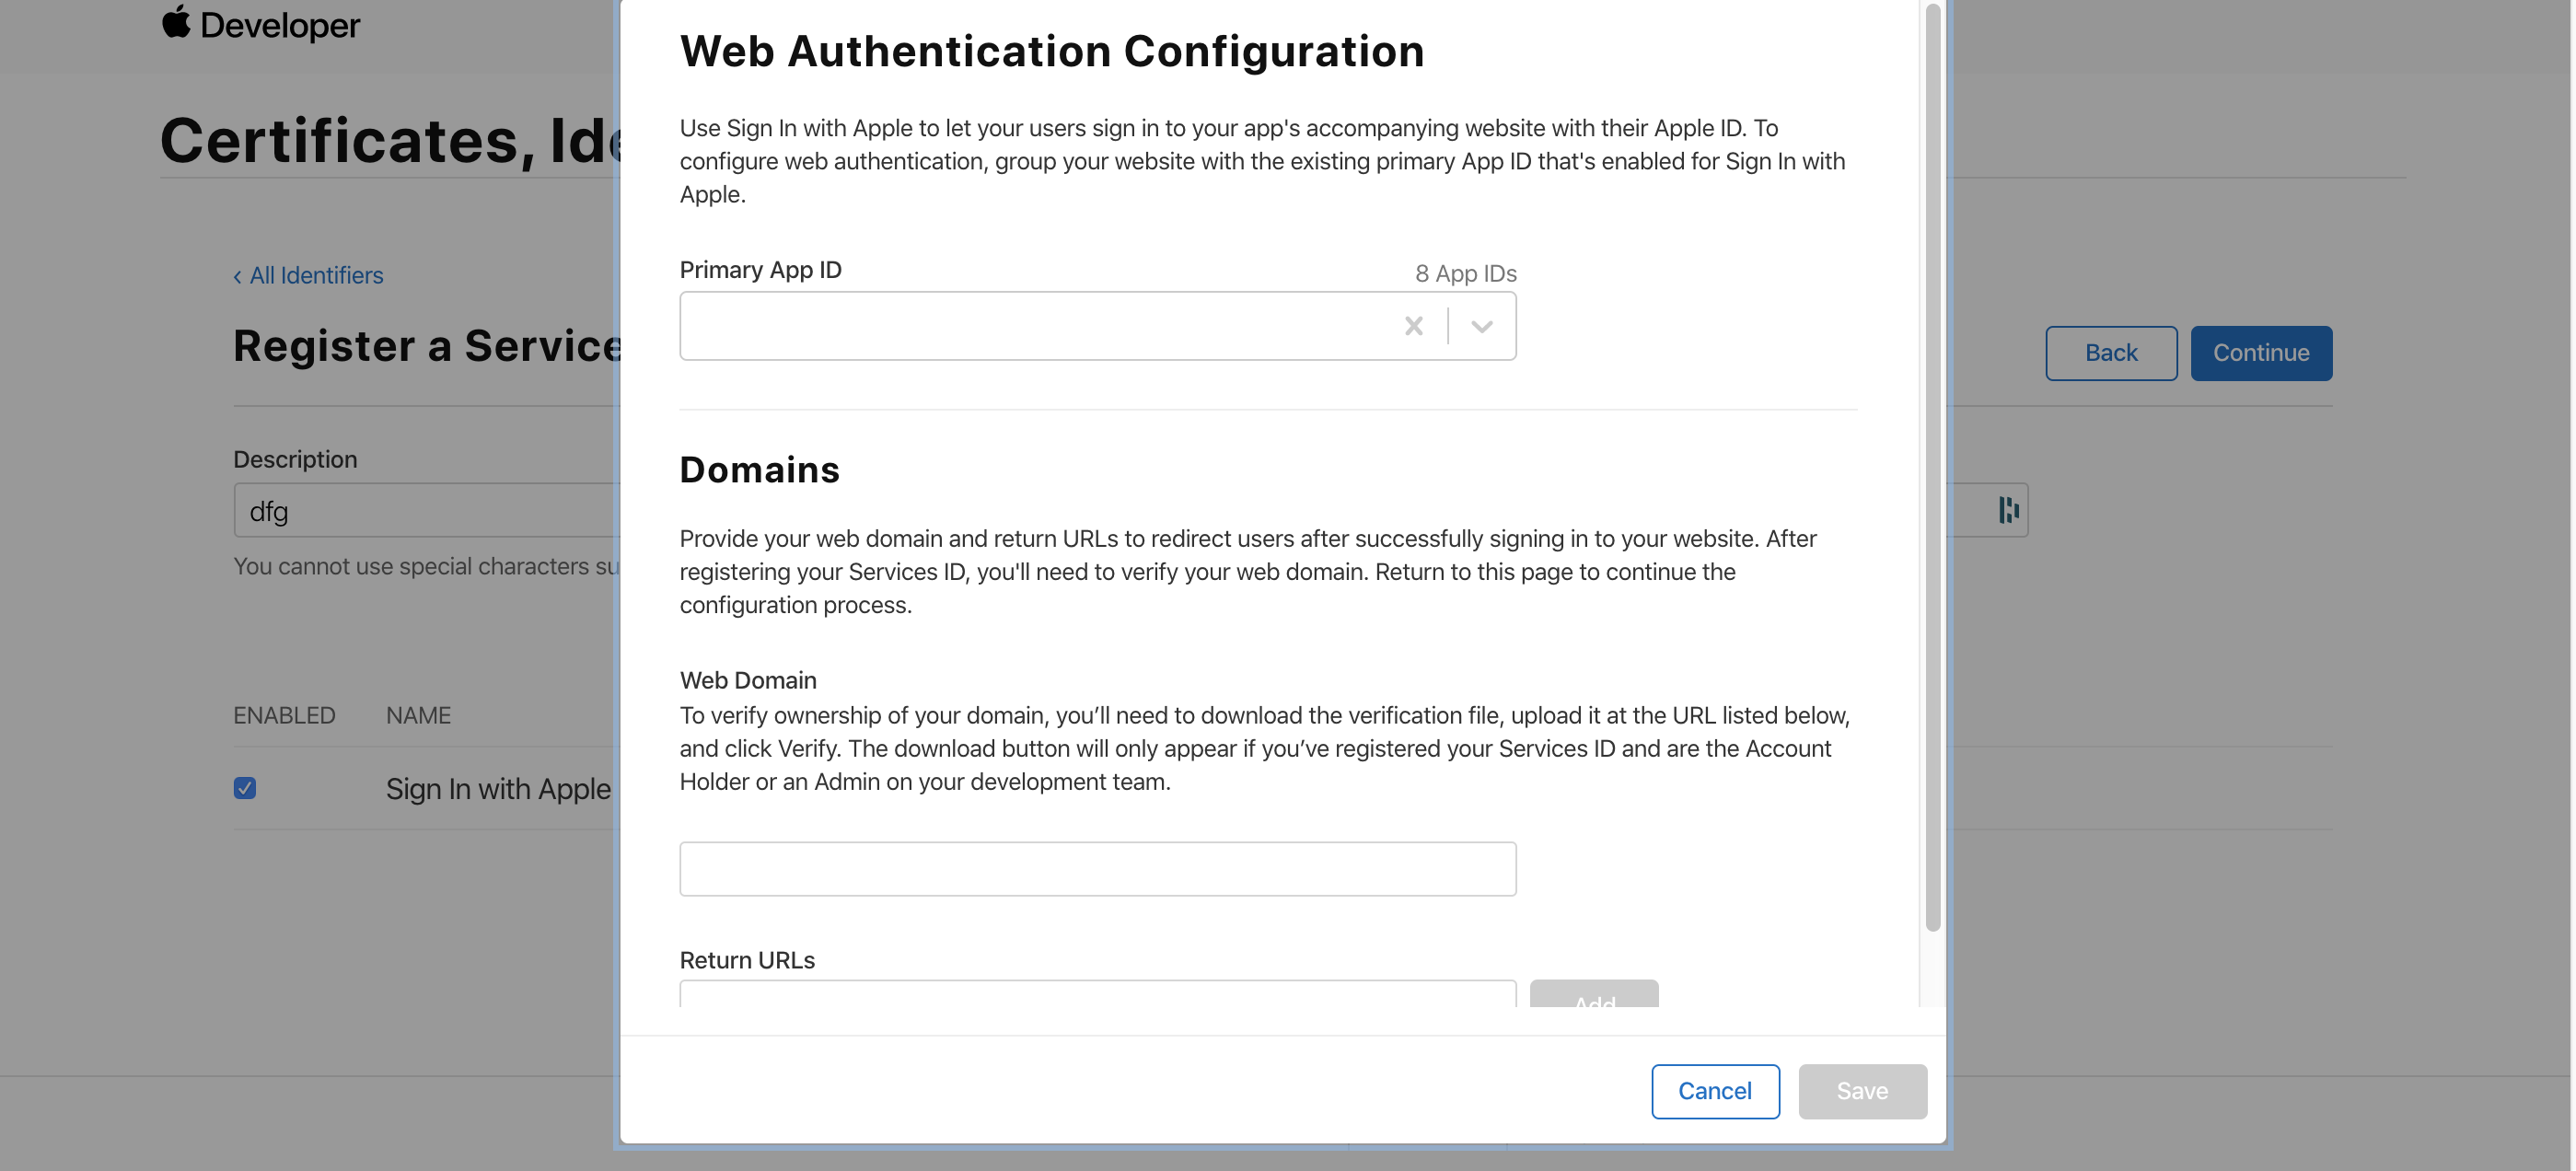
A pop-up will show up.
From the Primary App ID dropdown, select the App ID you created previously
Fill in your Web Domain (e.g. yourshop.com)
Then enter https://app.froonze.com/social_logins/apple/callback in the Return URLs.
Click the Save button, and once the detail is saved, click Continue.
In the next window review your configuration and click Register
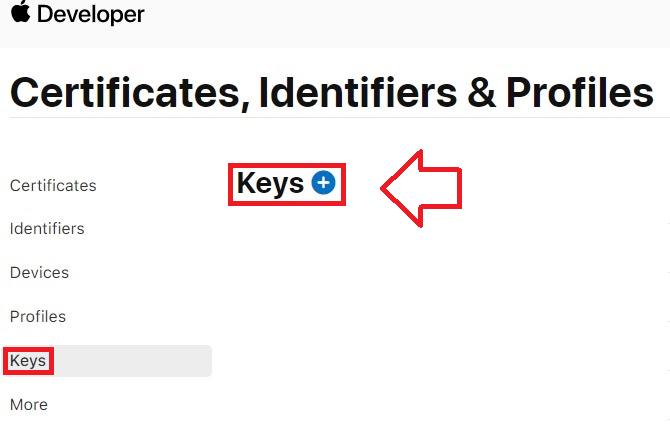
Now that we have set up both App ID and Service ID, we can create the Keys
Back again in Certificates, Identifiers & Profiles, select Keys from the left navigation sidebar, then click the Add blue button
We're in the Register a New Key screen. In the Key Name box, enter any unique name
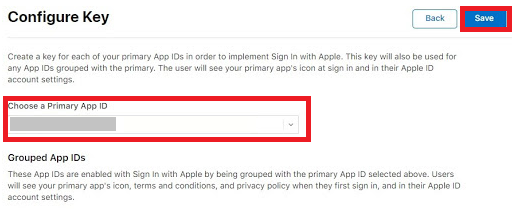
Under Capabilities, tick the box next to Sign In with Apple and click on the Configure button
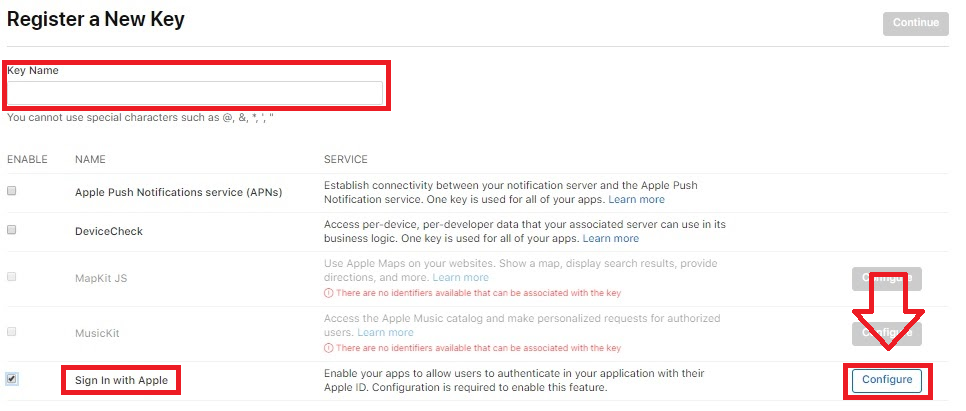
From the Choose a Primary App ID dropdown, select the primary App ID you have created earlier and click on Save
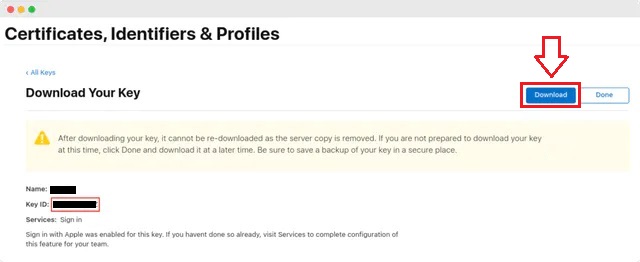
Click on Register to get to the Download Your Key panel. From here, you want to note down the Key ID to use it later in the Social Login Settings. We will also download the private key as a file, so just click on Download to get it.
As the instructions point out, make sure you save this file in a secure place because the key is not saved in your developer account and you won't be able to download it again. It will be saved on your computer as a file with a .p8 extension that you can open with a regular text editor such as TextEdit (iOS) or Notepad (Windows).

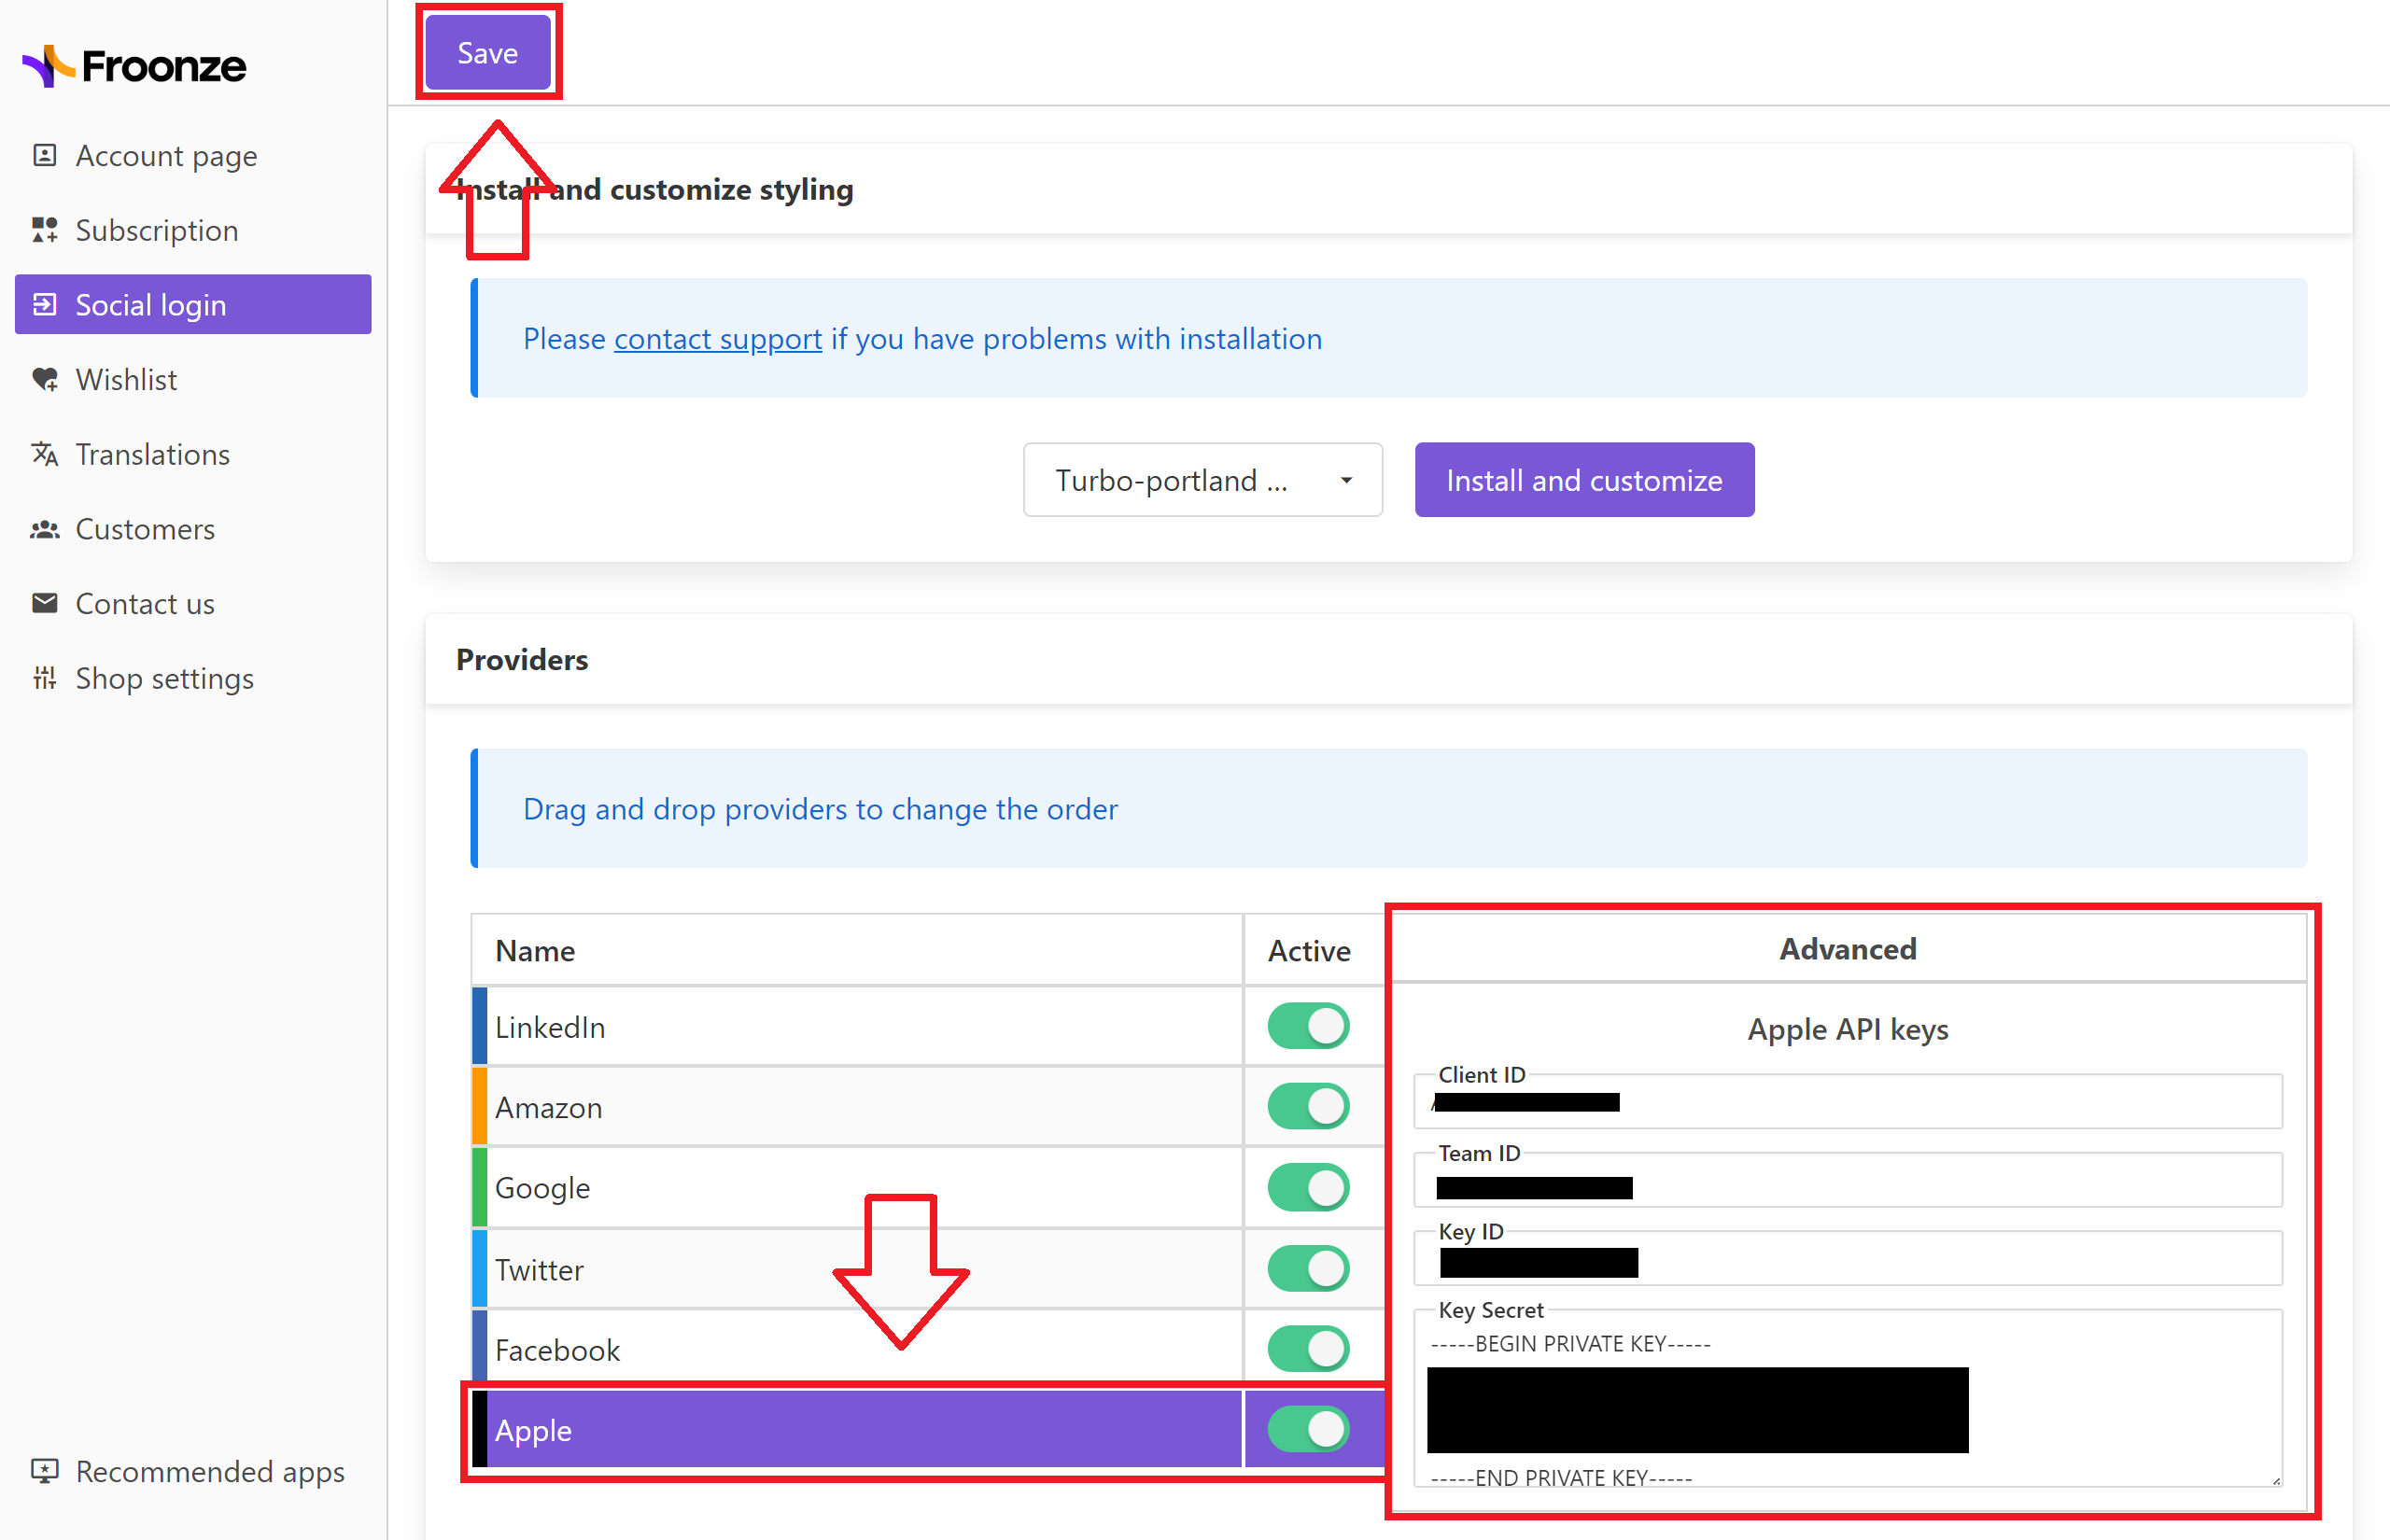
To finish configuring the app, navigate to our Social Login Advanced Settings, click on the provider Apple, and paste in the boxes the values we've found along this guide, before saving the settings there one last time:
- Client ID is the Identifier value of the Service. You can find it again at https://developer.apple.com/account/resources/identifiers/list/serviceId (click on the selected id and copy the Identifier value)
- Team ID is the APP ID Prefix. You can find it again at https://developer.apple.com/account/resources/identifiers/list/bundleId (click on the selected id and copy the App ID Prefix value)
- Key ID is the ID we got after creating the Key. You can find it again at https://developer.apple.com/account/resources/authkeys/list (click on the selected id and copy the KEY ID value)
- Key Secret is the content of the .p8 file you downloaded on your computer. The file can be opened with a text editor such as TextEdit or Notepad. The structure of this file will be similar to the one below, and the complete content will be treated as Key Secret:
-----BEGIN PRIVATE KEY-----
.
hashed content
.
-----END PRIVATE KEY-----