X/Twitter API key pair

Froonze
Last Update 3 jaar geleden
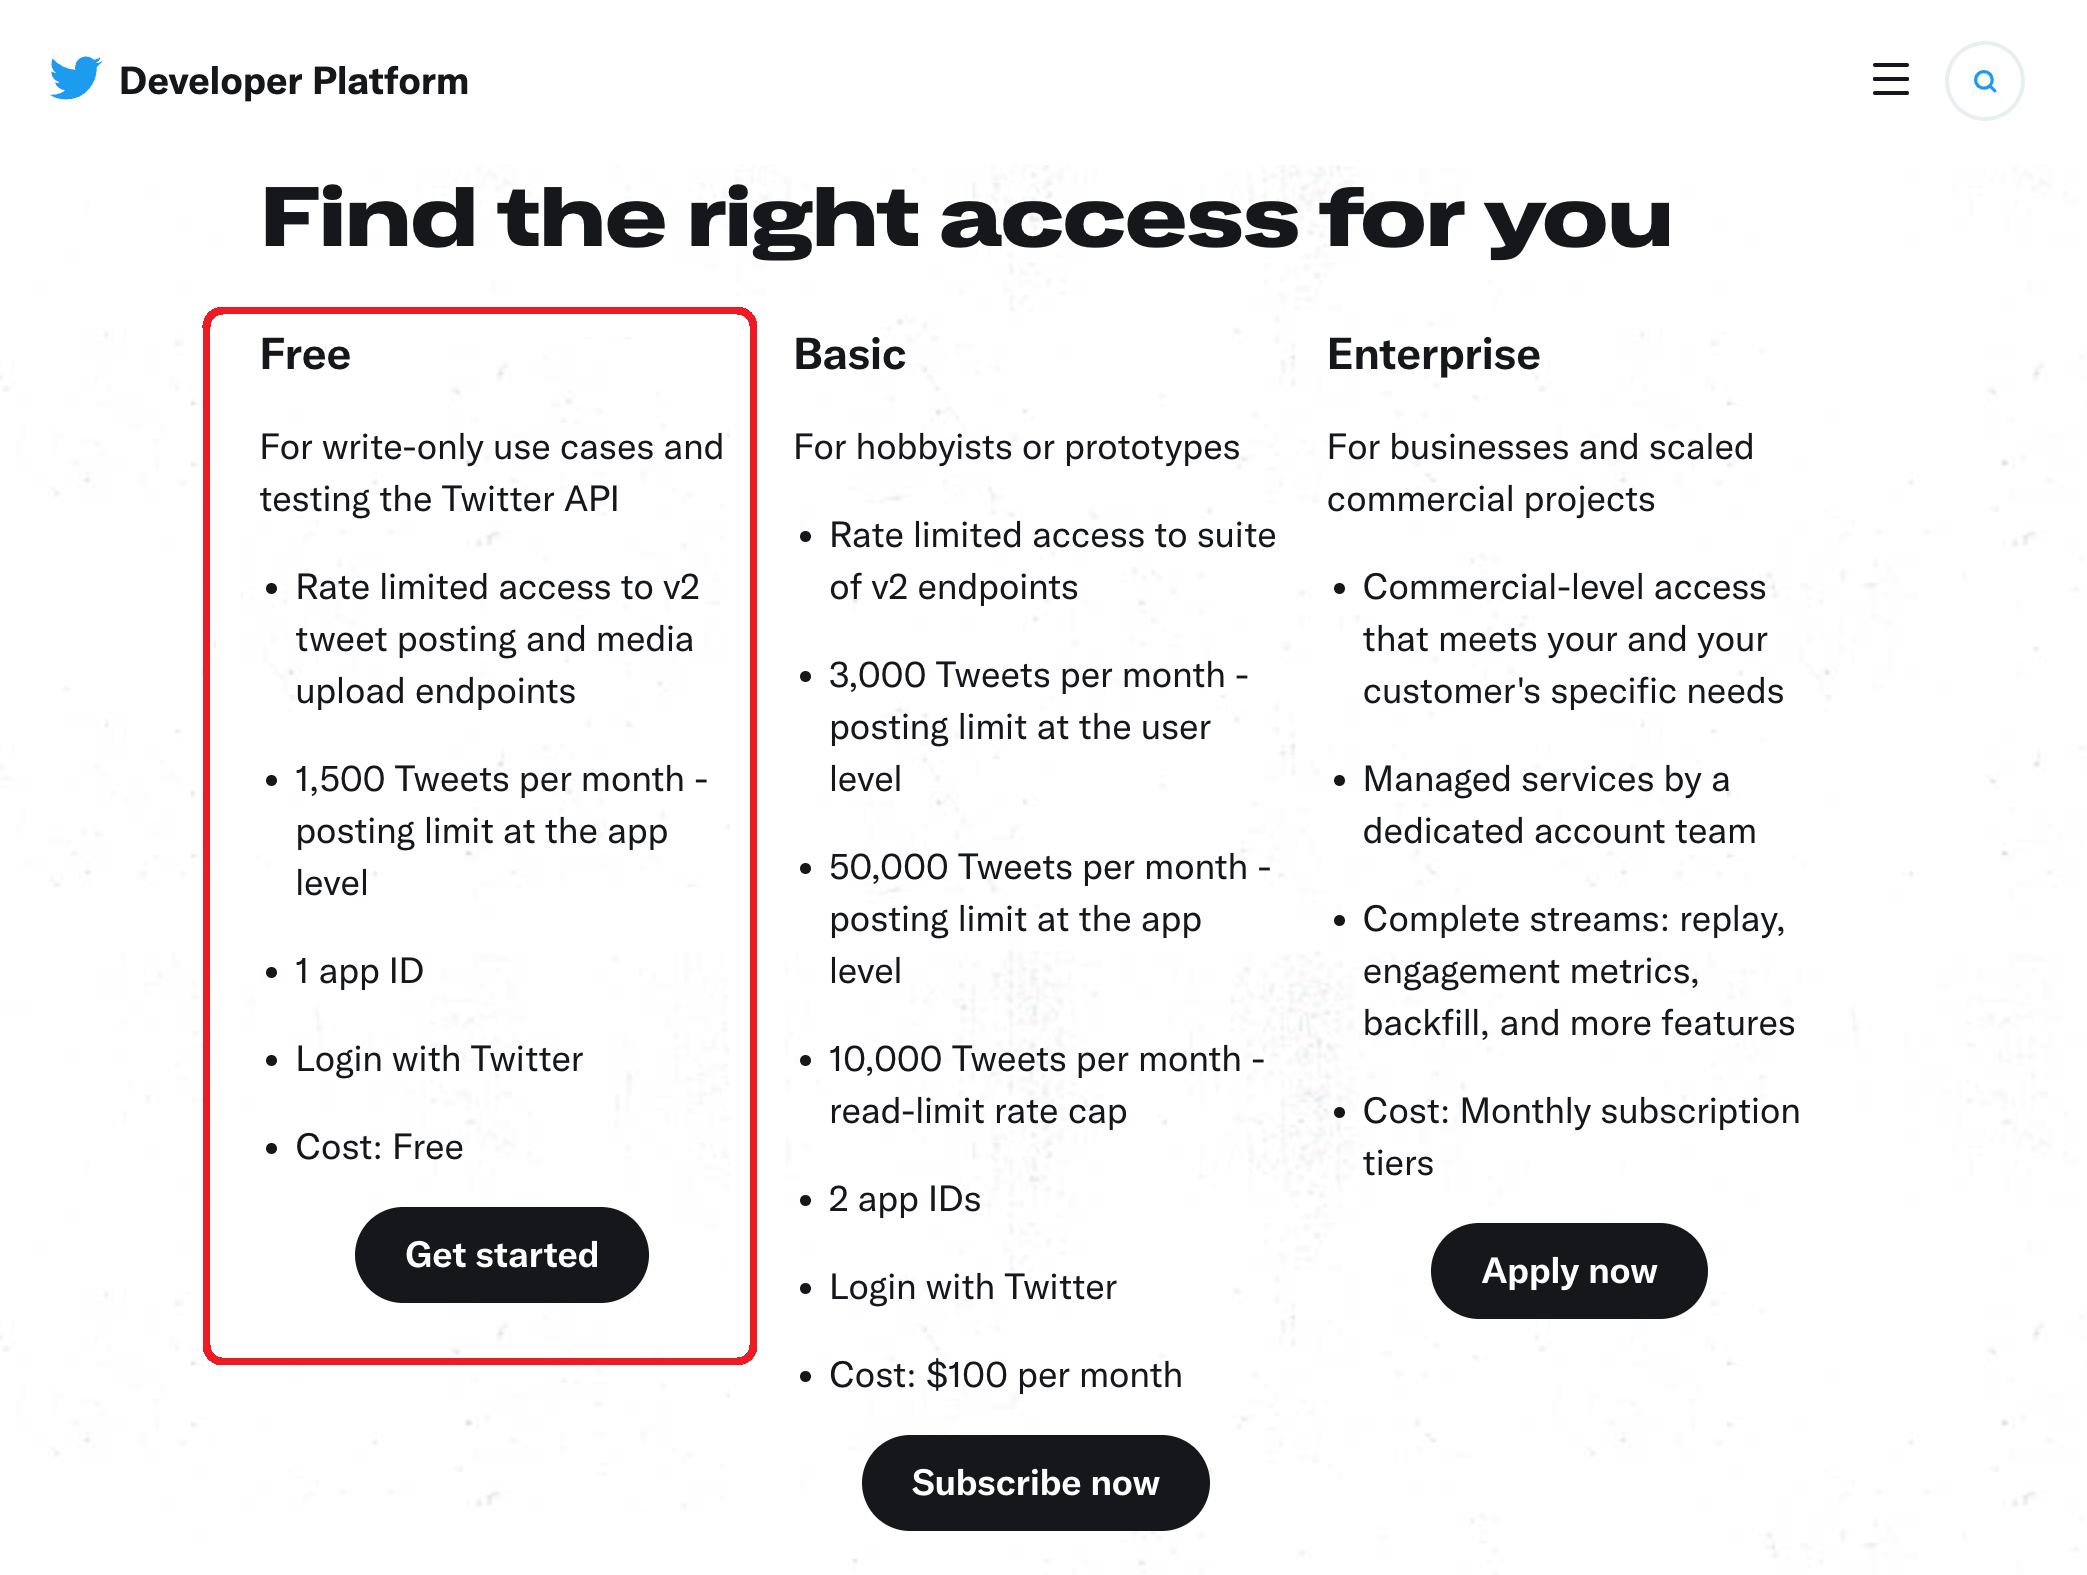
Log into X and go to the X/Twitter App developer portal at https://developer.twitter.com/en/portal/projects-and-app. If you don't have a Developer account, you need to set one up (don't worry, the basic plan is free).
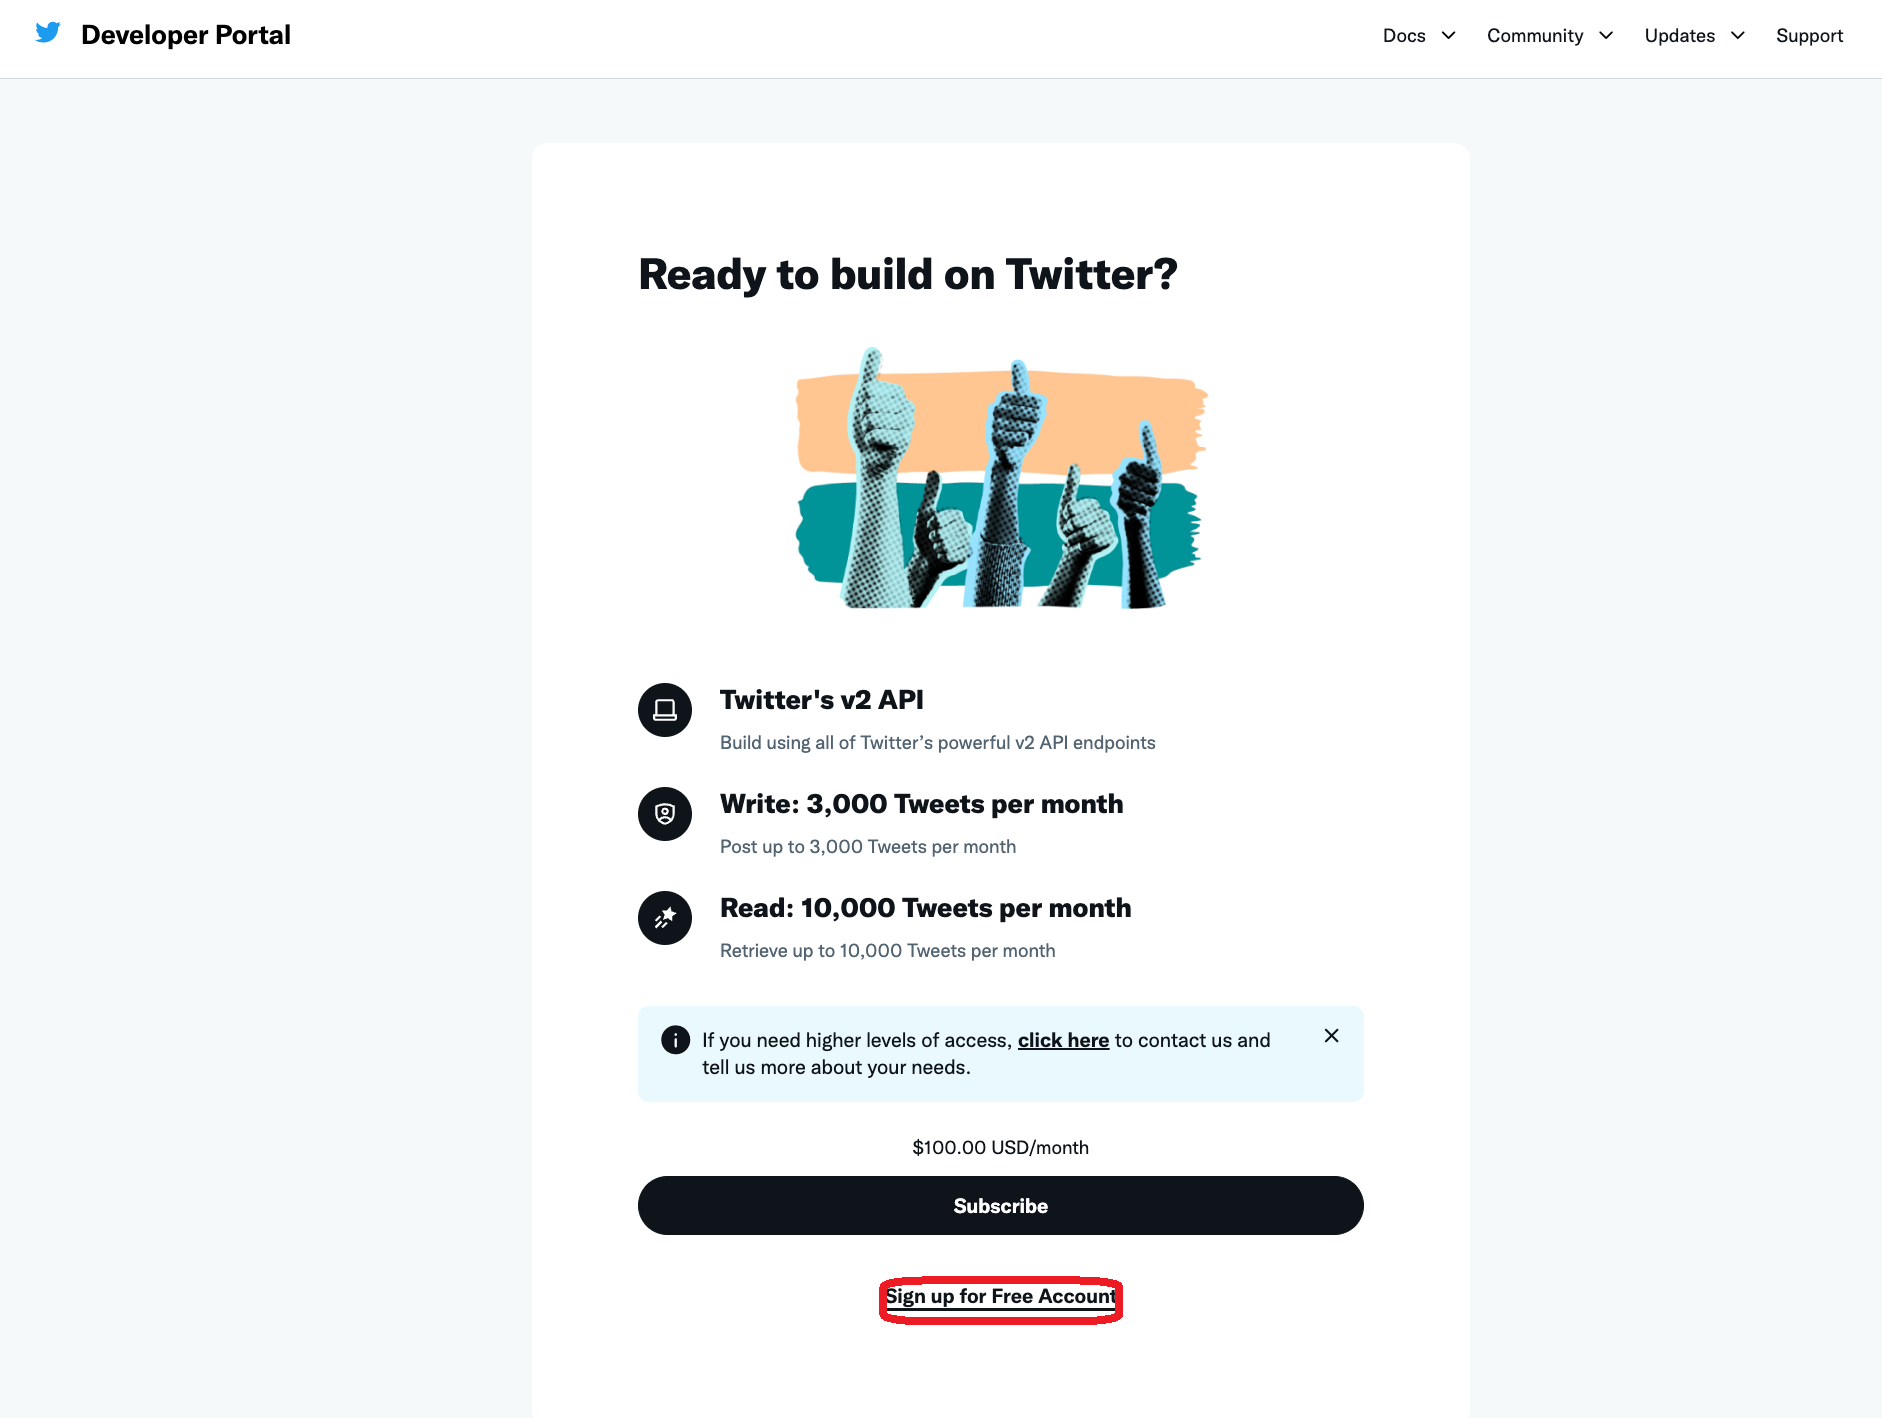
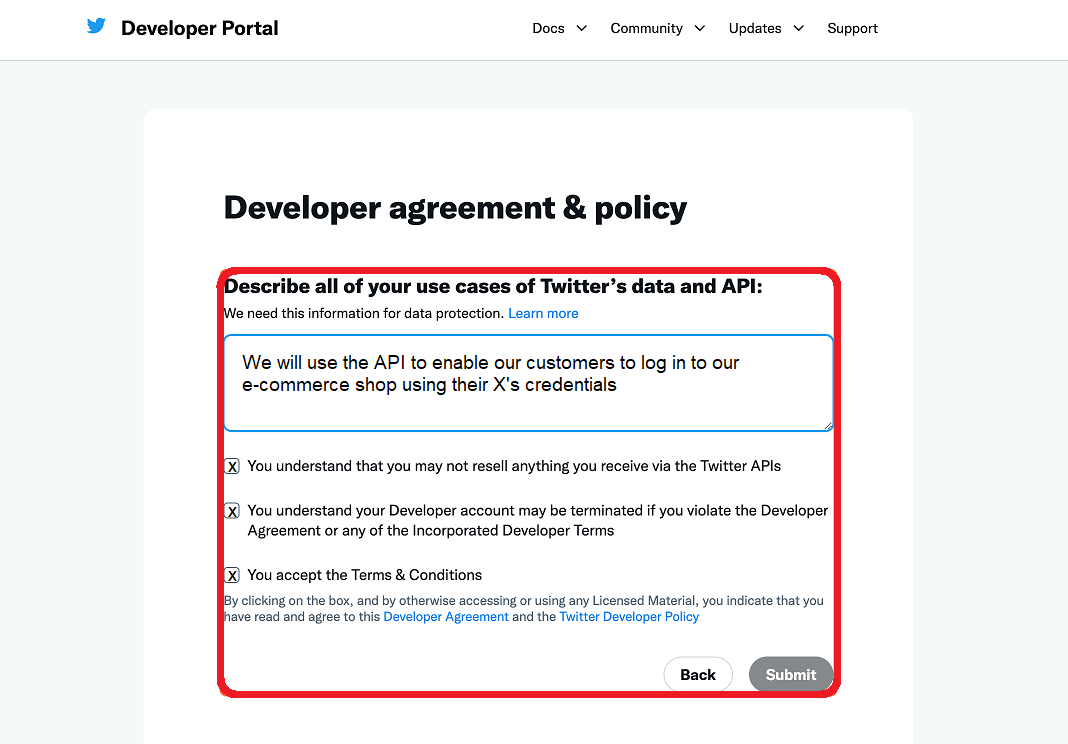
To create a new Developer account, select the Free plan, then click Sign Up for Free Account. After this, complete the description with something simple like "We will use the API to enable our customers to log in to our e-commerce shop using their X's credentials", tick the boxes below, then click Submit.
After that, or if you already have a developer account, you'll enter the Developer Portal: https://developer.twitter.com/en/portal/projects-and-app
In the left side menu, below Projects & Apps, click on Overview.
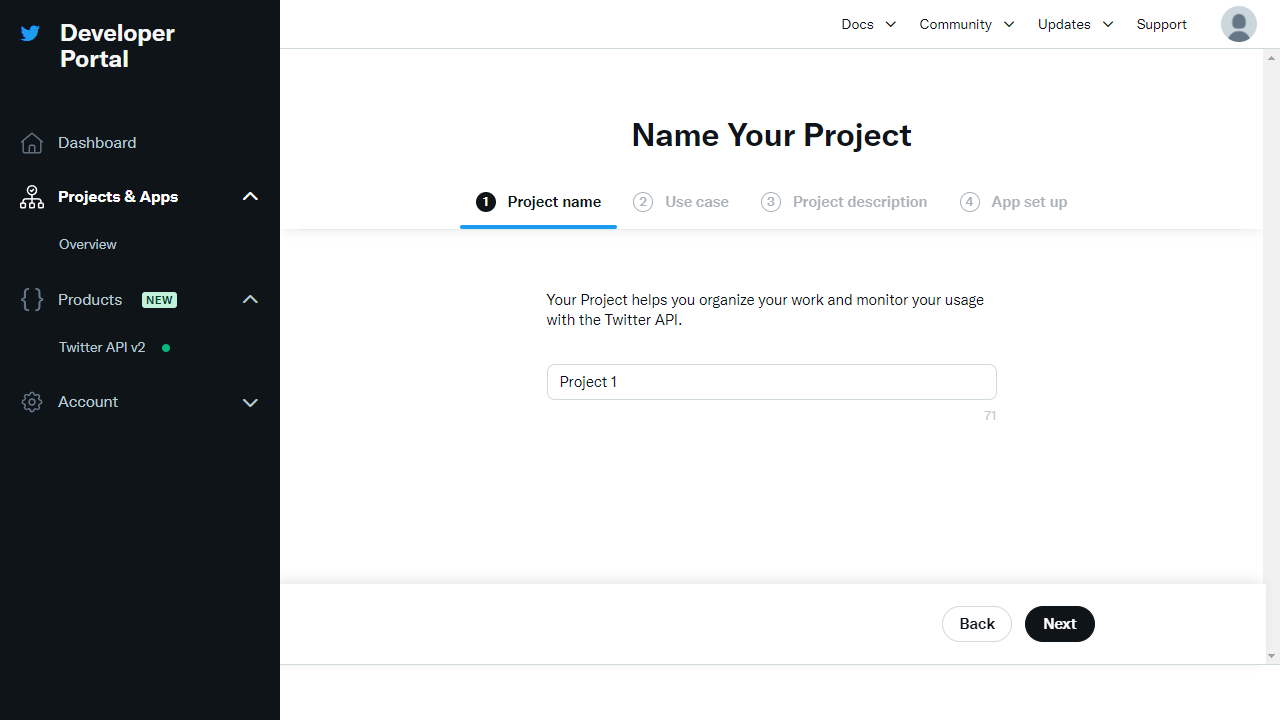
On the right side, click Add Project button to start a new project.

Then you go through a quick set-up to set up some details of the project and the app
- First choose any project name. Click Next
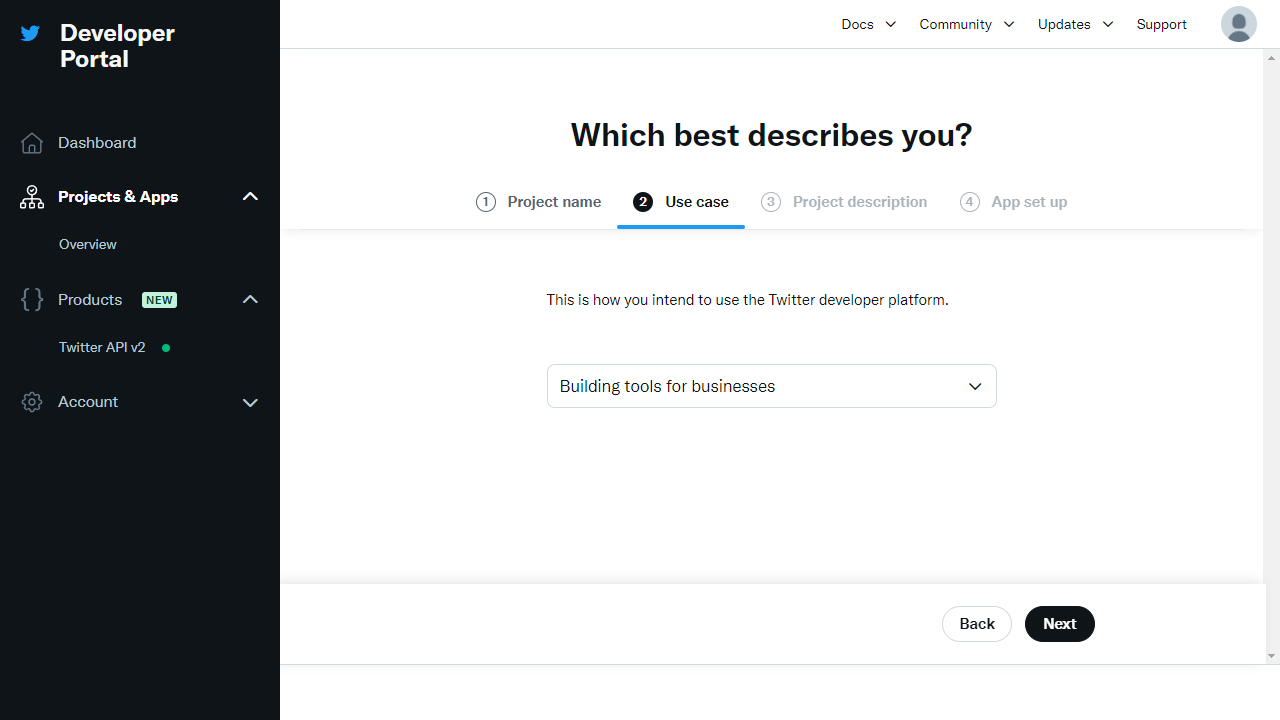
- As Use Case, choose Building tools for businesses
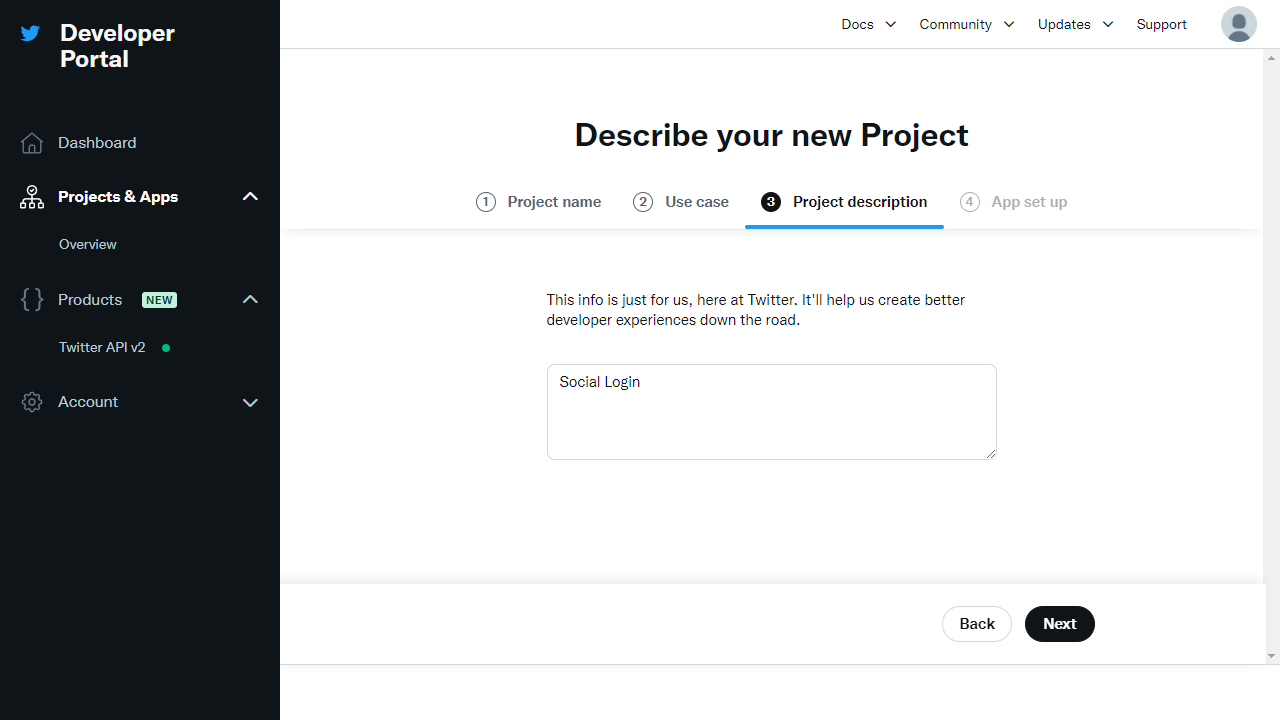
- Enter a short Project Description of your choice
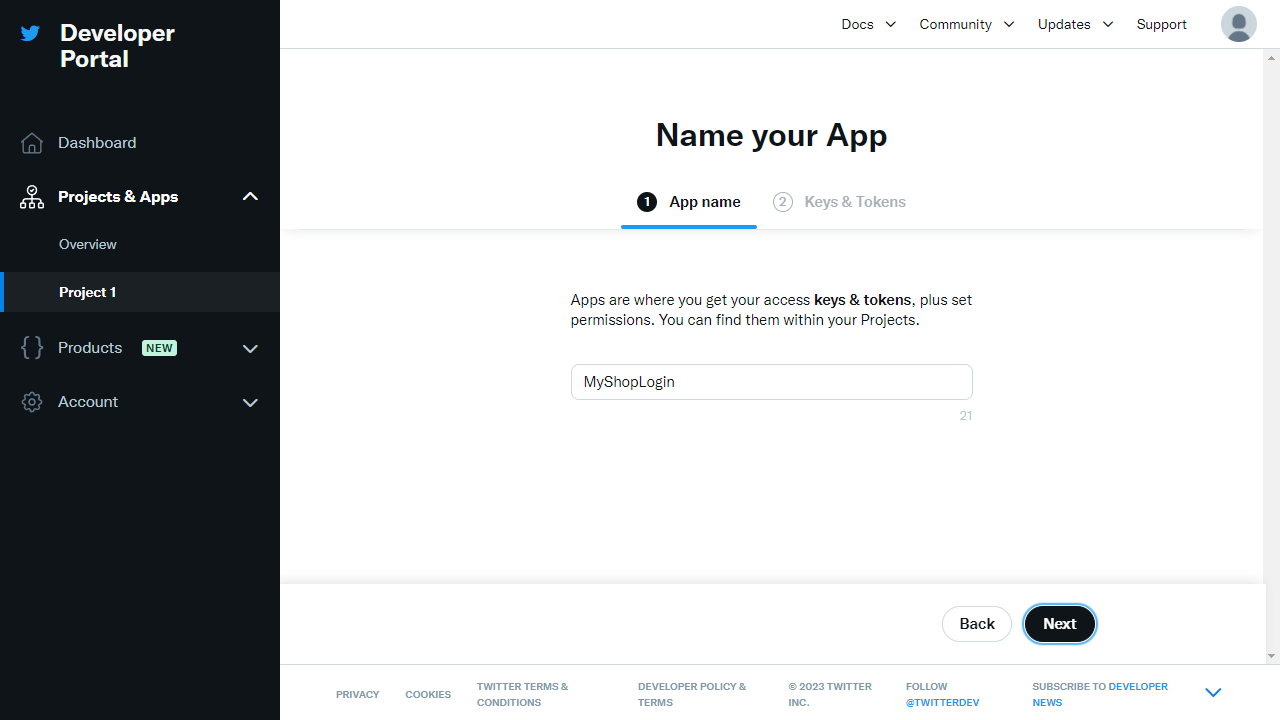
- Then you set up the App Name that your customers will be able to see, so you may want to name it as your shop (if you already have a Project, you may only need to click Add App in the Overview or Project panel to get here)
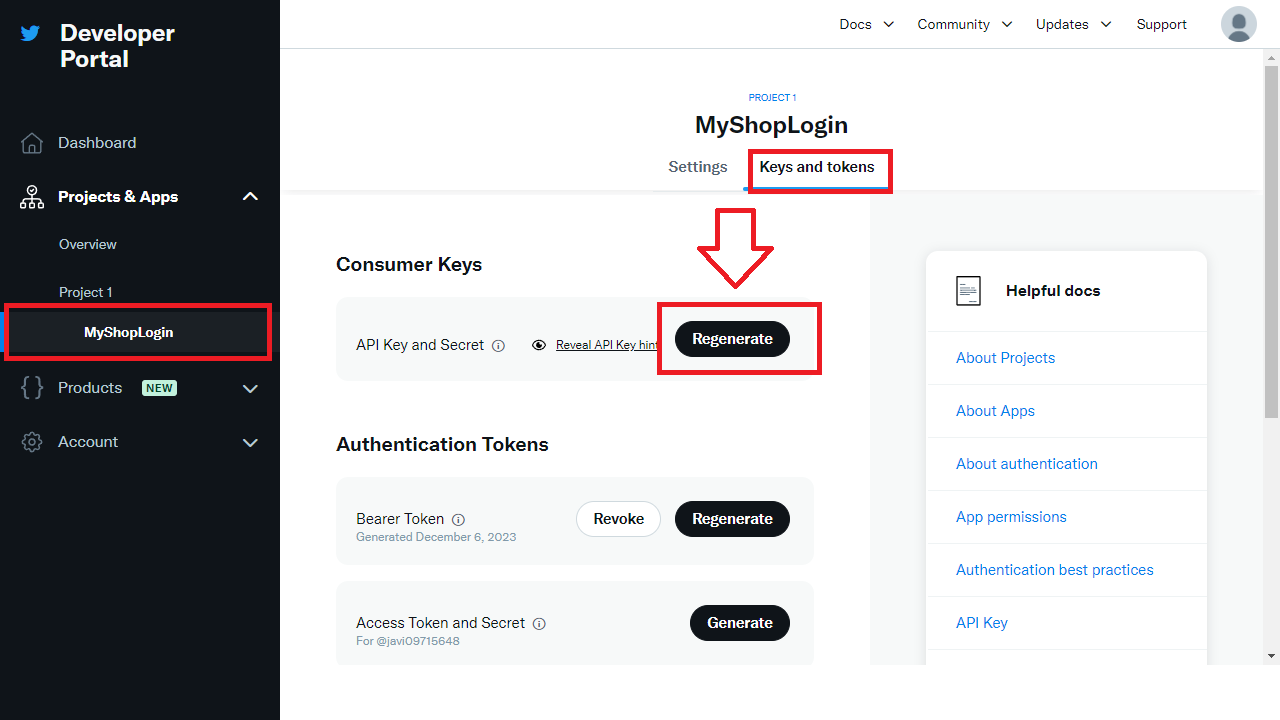
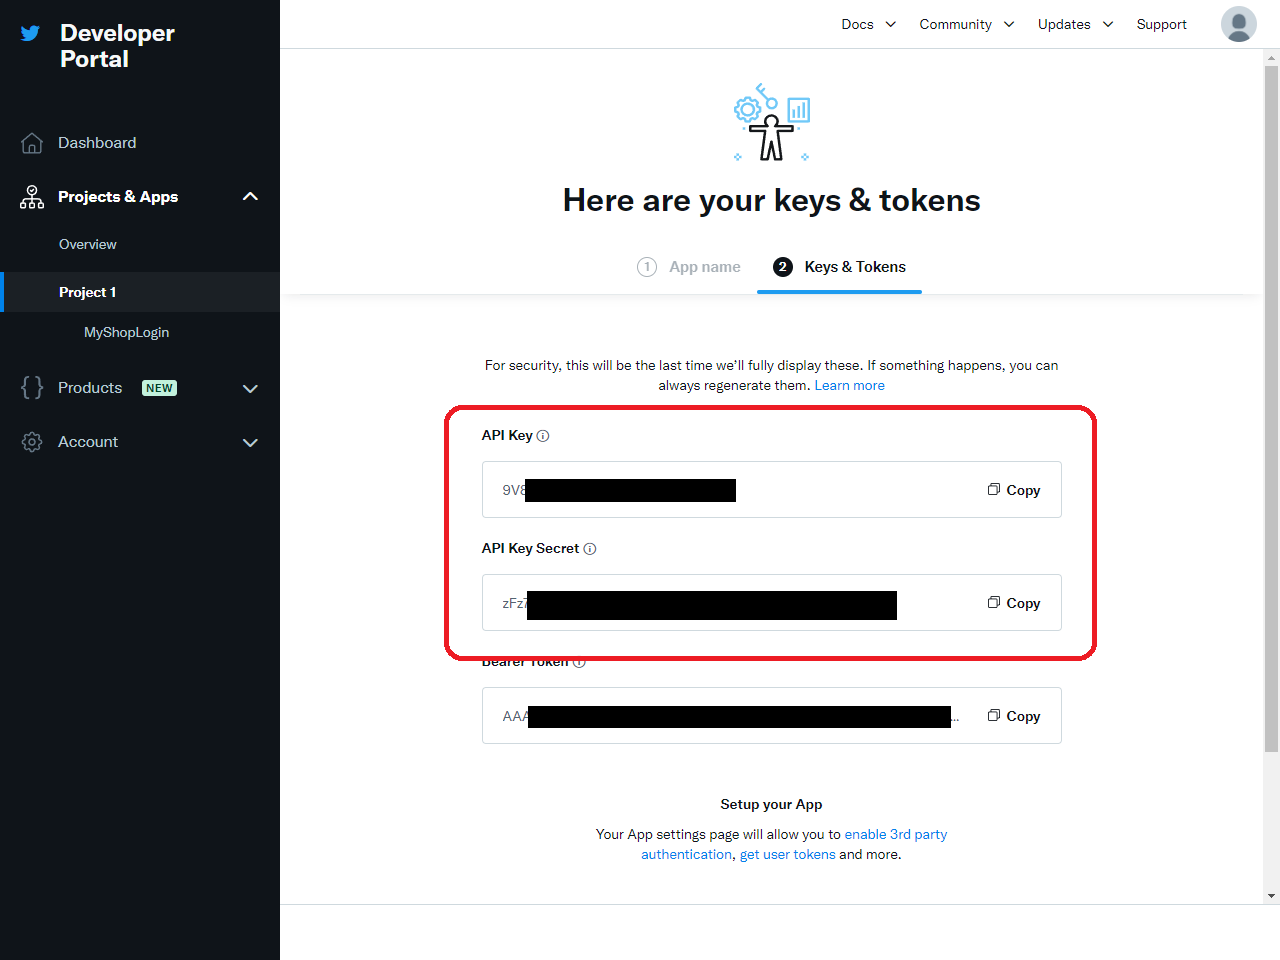
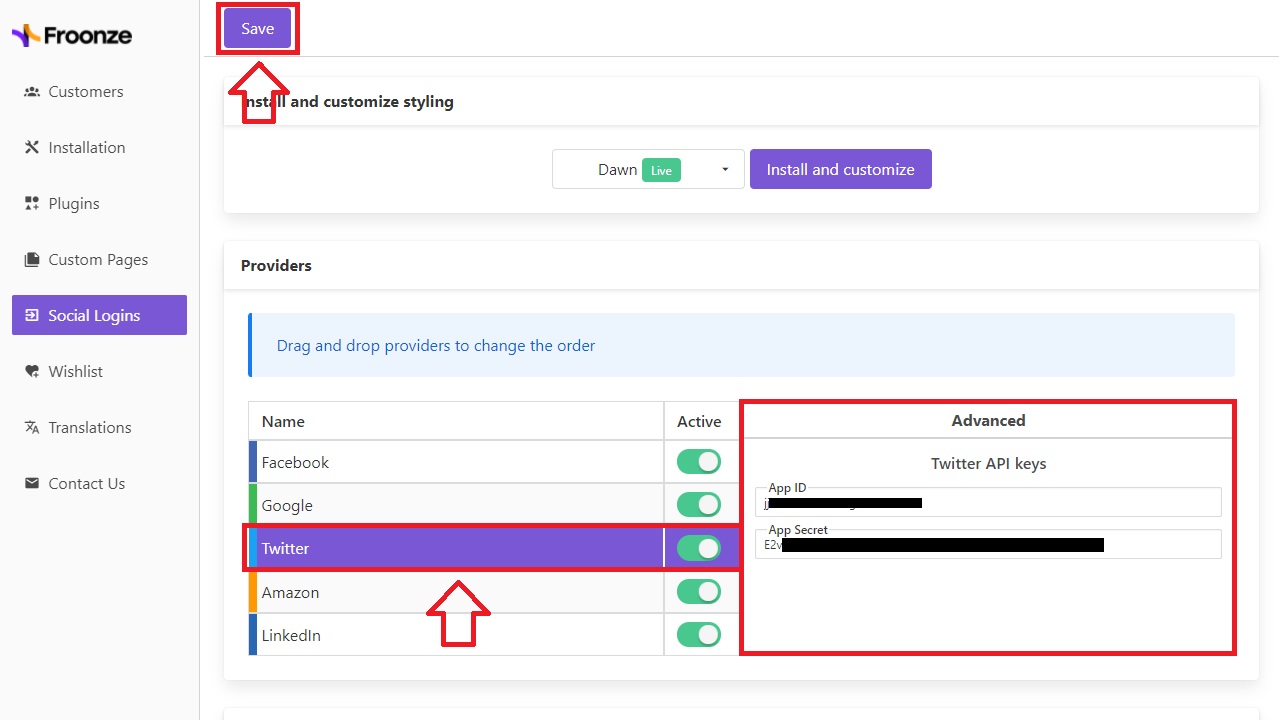
- Next, in Keys & Tokens, copy the keys. API key and API key Secret can be entered already in our settings or later on. They would be App ID and App Secret respectively. Then continue to the next step.
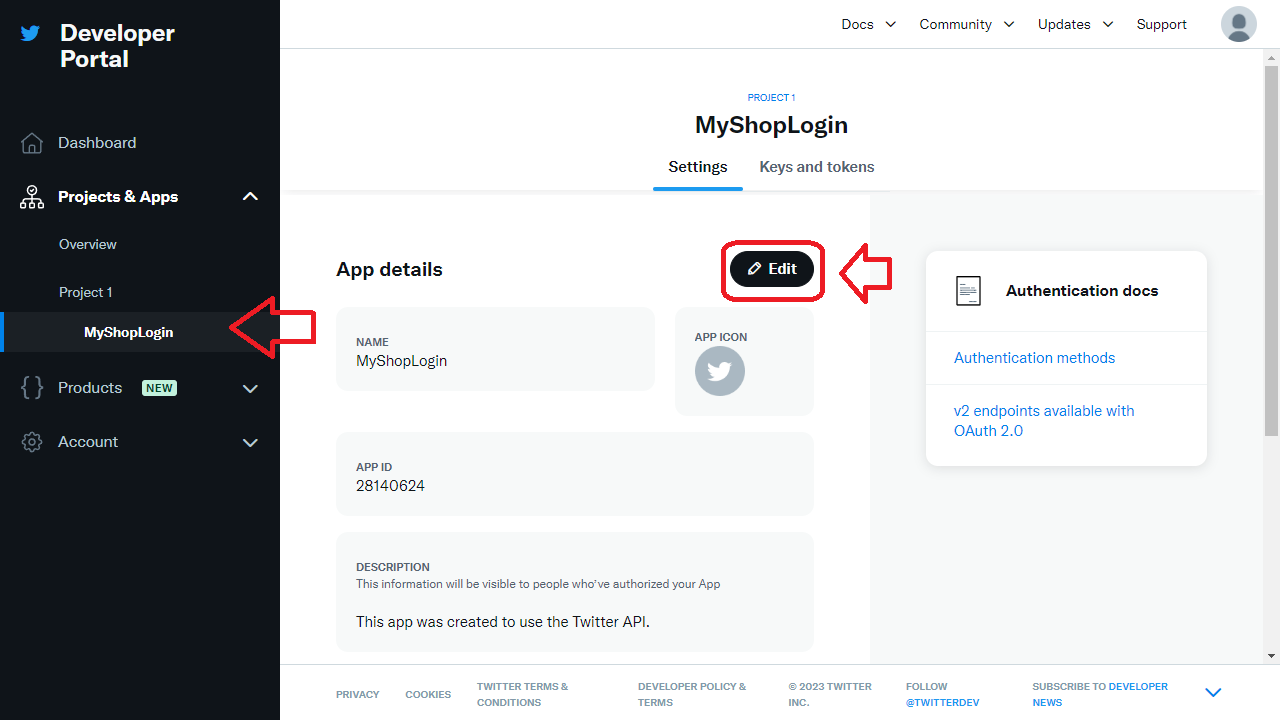
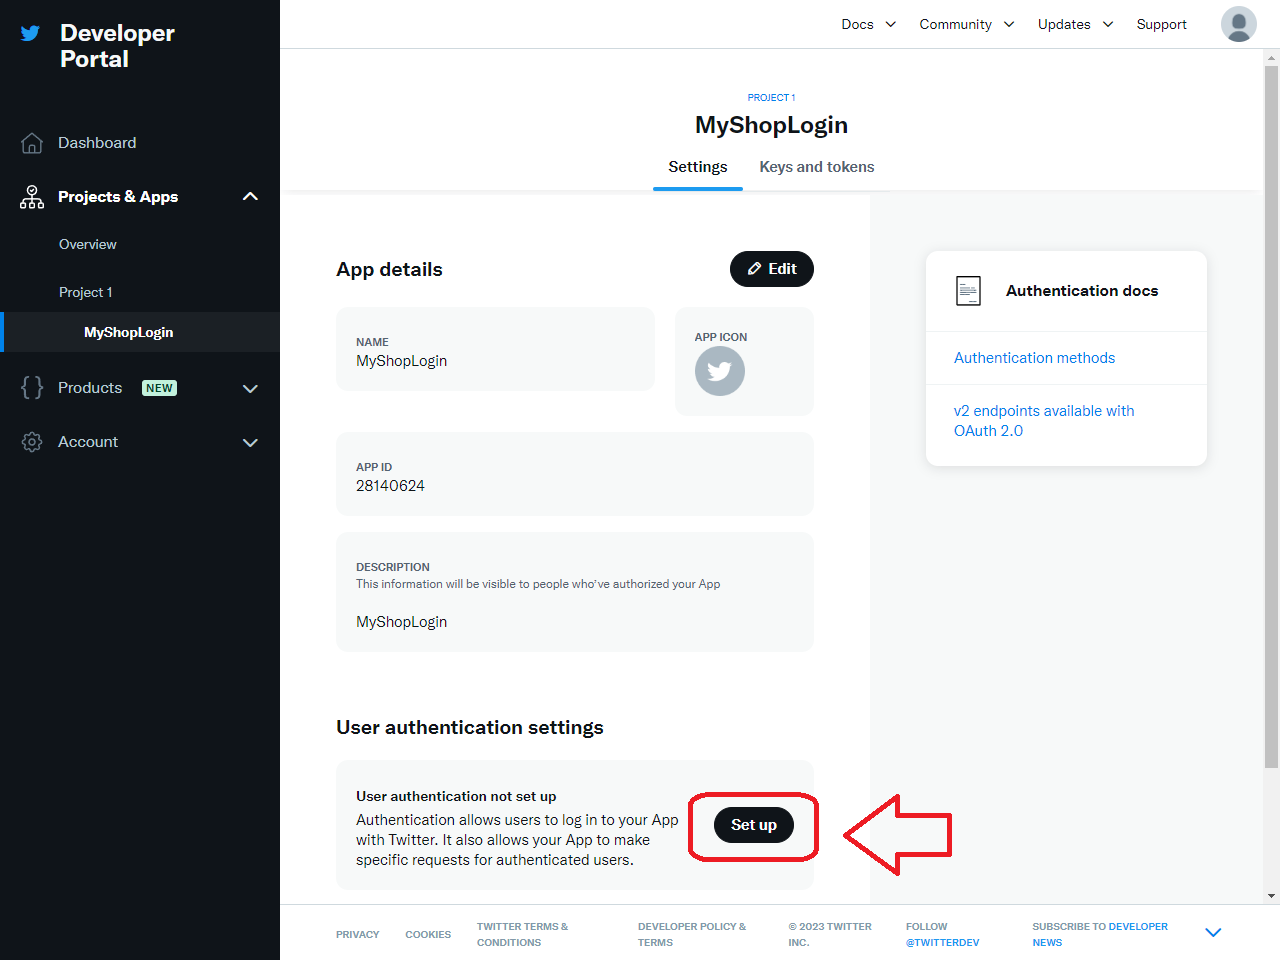
After the app has been created, click on the app on the left-hand sidebar, then on Edit on the right
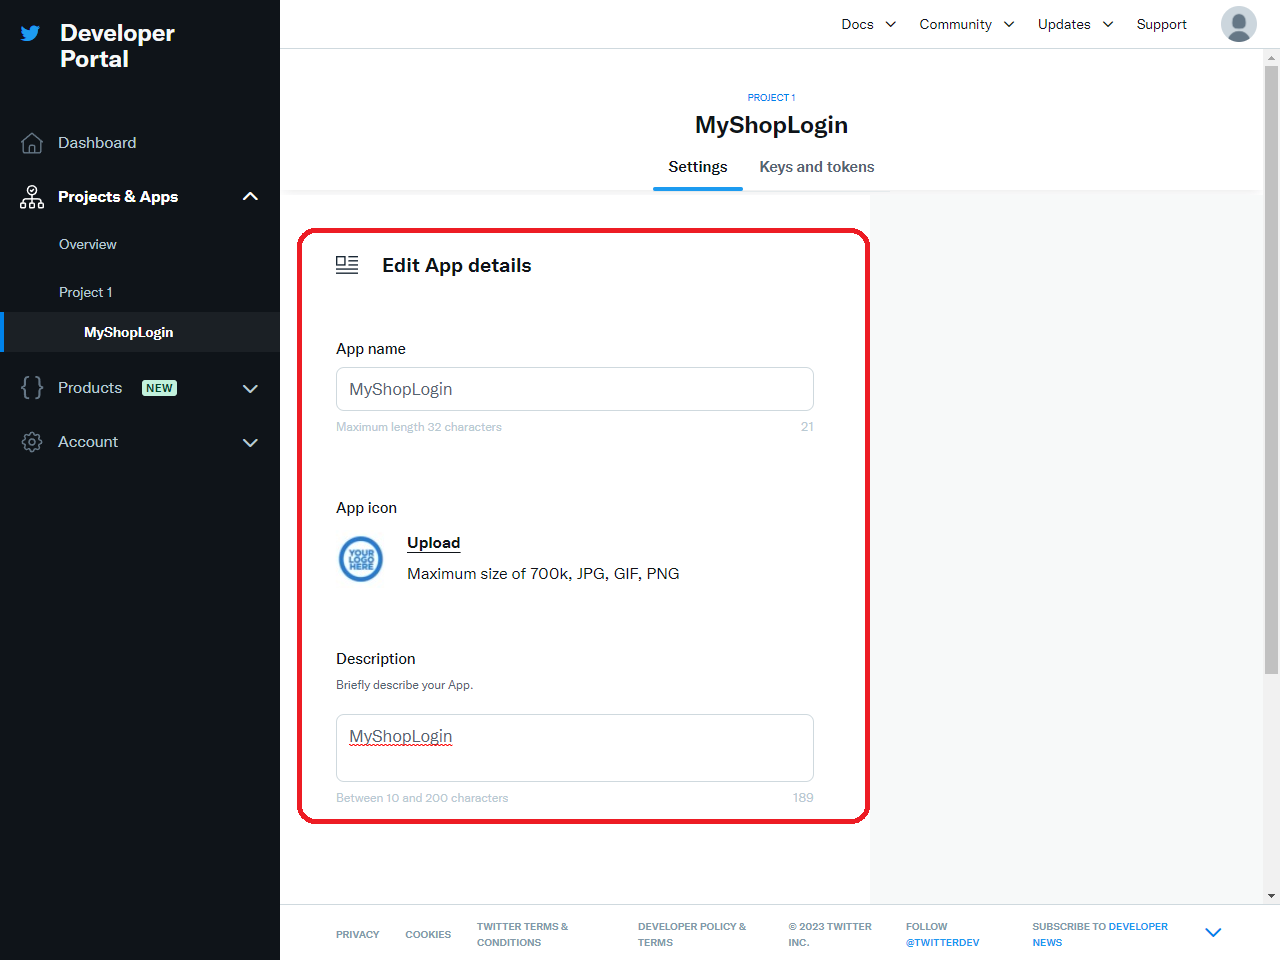
You can add your logo and an optional description here, then click on Save
Back on the app panel, scroll down to User Authentication Settings and click its Set Up button
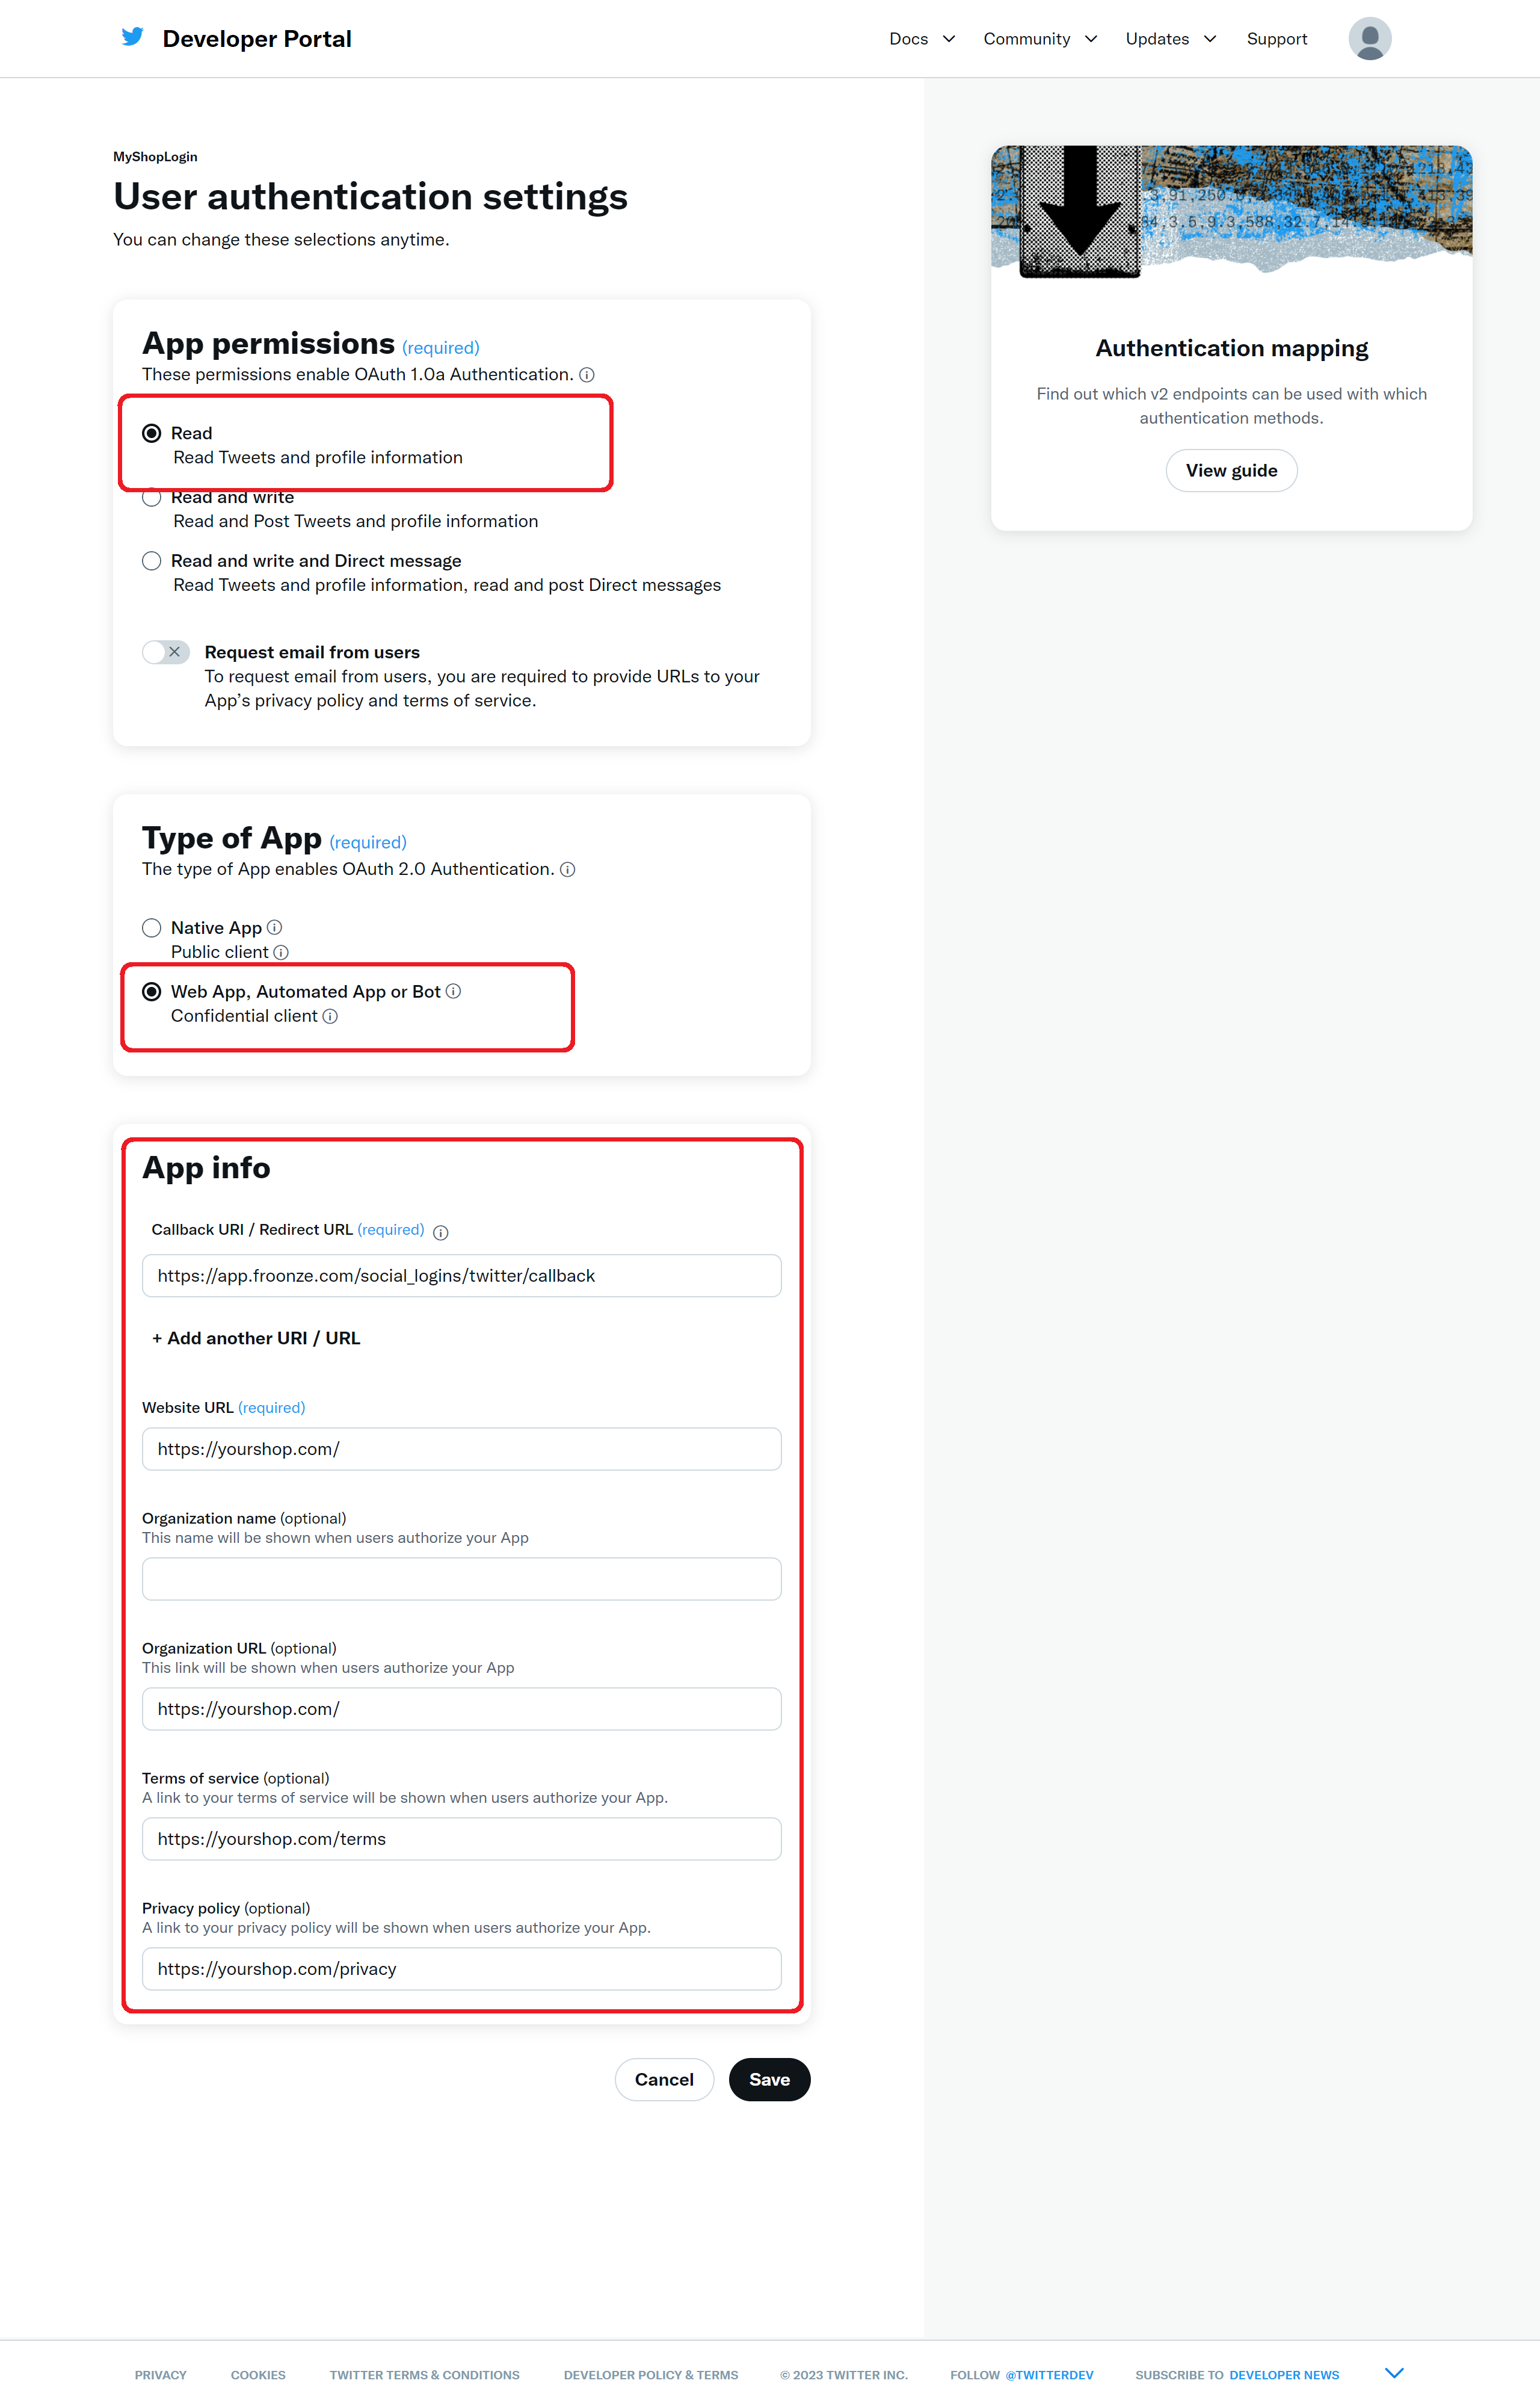
Finish the set up this way:
- App permissions: Read
- Type of app: Web app, Automated App or Bot
- In App Info, add our Redirect URL: https://app.froonze.com/social_logins/twitter/callback
- In App Info, add your Website URL and also your Privacy Policy and Terms of Service in the respective fields
- Click on Save
You may be presented now with the OAuth 2.0 Client ID and Client Secret, that you can copy apart but you don't need to save into our Social Login settings (since we already saved the API and the API Secret keys in the previous step). Just go ahead and check everything's working properly on the site. If you missed saving your keys you'll need to generate new ones in App > Keys and tokens